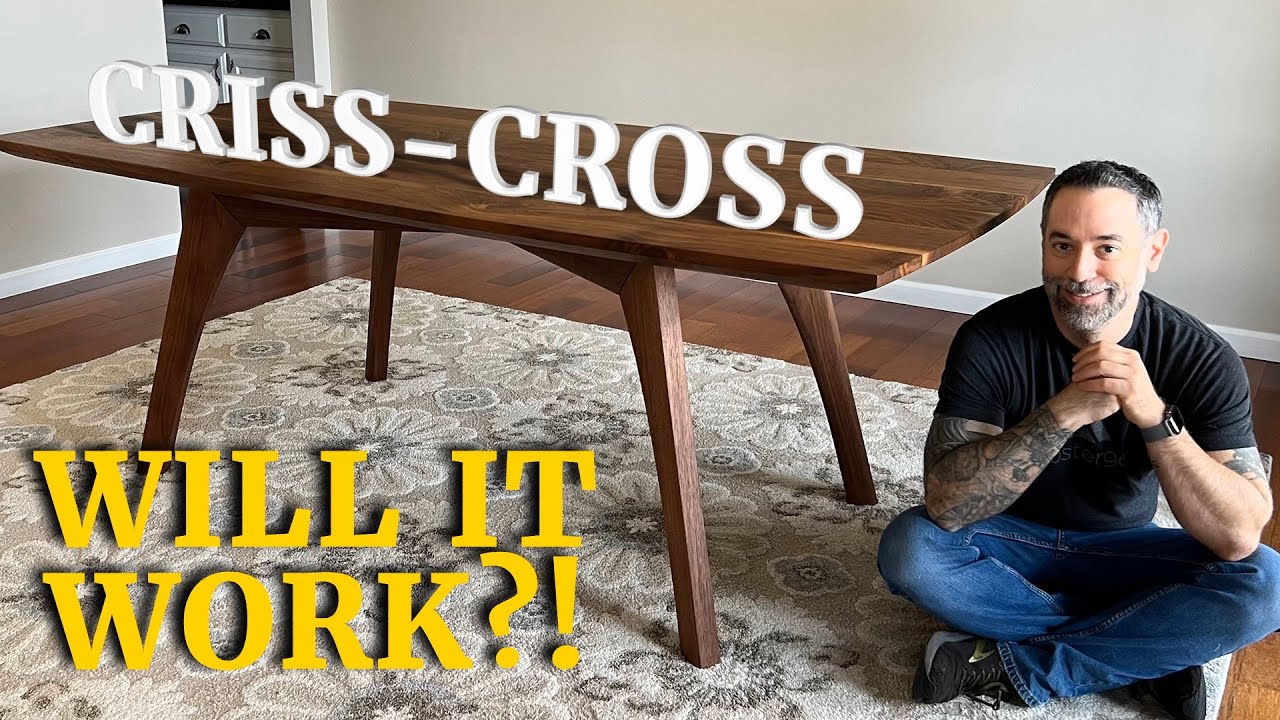
So my wife Nicole asked me for a new dining table. She didn't give me much in the way of parameters other than to make it out of walnut and make it pretty darn big. Now, normally, I mean, I guess some people might be inspired by that. But when I have too many options in front of me, my brain goes a little haywire. So if you actually want to see my struggle with this design and how I arrived at the thing you're about to see here, you can check out the full course at the Wood Whisperer Guild. In the meantime, I'm going to show you what we did. What I came up with was a pretty beefy table with ample room for six people and plenty of leg room, no knee bangers on this one. But is this a smart design? The reason I'm doubting myself is because I've never really seen a table like this. That's not to say that one doesn't exist. I can only say that I haven't seen it.
Normal table bases will feature four legs and four aprons. But by criss crossing the rails, we can get away with only two of them and still achieve a nice wide stance that I'm theorizing will be strong enough for the job. Well, let's build it and find out. I'll start by cutting out the legs and rails. By nesting the pieces I can be a little more conservative with the material. Walnut ain't cheap. These boards are a very generous eight quarter at over two inches thick and they're about 10 ft long. So it's a pretty good workout. Oh, he's a big boy. He's a big boy. These are very thick eight quarter boards. At the miter saw, I'll cut the board down and then head to the band saw to roughly cut out each of my four legs. The rails are just straight so I'll rip those down at the table saw. Now I can joint and plane all the legs and the rails down to size.
Before I got my big Felder planer, I was rocking this little blue beauty made by Oliver. A few people have asked me for a review. So here's a mini one. It works great. The helical head leaves a nice smooth surface and surprisingly out of the box, this unit had no snipe. That's kind of unheard of for this style of planer. And I'm not sure how, why or even how long it'll last. But that's what I experienced during this entire build. The legs will get an angled cut at the foot that will let the legs sit at 15°. The top of the leg is also cut with the miter since that's how it's joined to the rail. And of course, the rails get a miter cut to match. Now, you can see how the parts will come together. Time for the joinery. We'll go with loose mortise and tenon joints on this one. Now, the first person who asked me, why didn't you use the Domino gets a virtual kick in their nether regions. I ain't seen a beating like that since somebody stuck a banana in my pants and turned a monkey loose.
I'll cut the mortises with a router. And before you even have to ask, I'll be sure to put a link in the description for the pencil and the white lead that I'm using works pretty well on walnut. I'll also link to a video that I did on marking lines on dark wood if you want to explore some other options.
To make this procedure safe, I'll clamp onto jointed two by six cutoffs as supports these keep the router nice and balanced and it gives me some additional runway. Now, I can cut the two mortises using a spiral up cut bit. The same setup is used to cut the mortises on the rest of the legs and the rails. Now we can cut down some of the leg off cuts to make the tenons. You sneak up on the fit with the planer and then rip to width. The mortises have round ends so I'll use a router bit to round the edges of the tenon strip. Because the fit will be super snug, we'll need a place for the trapped air to go and a few grooves on the tenon face will give the air an escape path that should make tenon insertion a lot easier. Now, I can cut the individual tenons from the long strip. Now hang on for a second for a little safety talk, notice something sketchy here with this stop in place, the tenon is essentially trapped between the blade and the stop, which is usually a recipe for a nice kick back.
So why do I get away with it here? The reason is because I'm not bringing the blade back up while it's spinning with the teeth buried, the tenon just vibrates against the smooth saw plate until the blade comes to a stop only then do I lift the head up, exposing those teeth. Now, this doesn't 100% remove any chance of kickback, but it does reduce it enough that I feel comfortable showing it and recommending it. So you're telling me there's a chance. Just with the natural variability of the milling process, it's possible that some tenons will fit just a little more snug than others. And for those I give them a pass or two with my smoother and that's really the kind of fit you want, doesn't need a hammer to go in but doesn't fall out on its own.
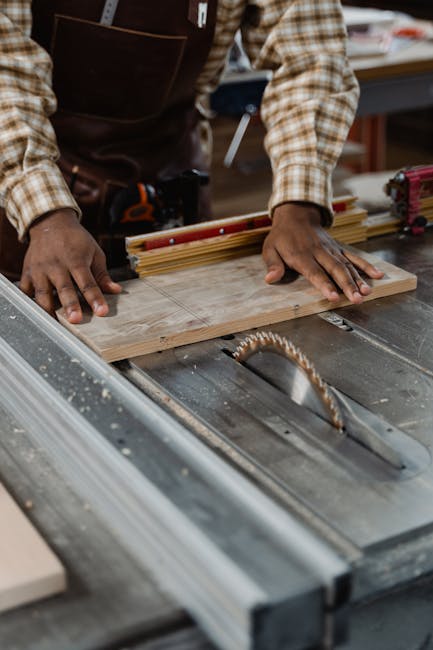
Now, we can move on to the crisscross joint. I was going to call this a half lap, cross, lap, double notch, do hickey. But I figured criss cross was a little easier to say. I made the cuts using a sled at the table saw and a single blade just making a number of passes. I didn't use the dado stack for two reasons. First, that's a lot of meat to remove in one go and having that much dado stack exposed just kind of makes me nervous. And second, with the sled eating up a half inch of vertical space. I'm not even sure that my dado stack would be able to reach that high. Your mileage may vary. One thing's for sure.
You definitely want to use a clamp for something like this because you don't want that rail to move while it's being cut and you really want your hands out of the way. Once I can slide my notch over the rail, I can cut the notch on the second rail and the fit is snug but not too snug. Looking good. To reinforce this joint, I'll add a spline on the top and the bottom that spans across the two pieces using some scrap. I'll make a little fence that will guide the router during the cut. High stakes routing baby. Now we'll square up the mortises with a chisel. And then I can cut some stock for the splines. And now it's a good time to notch the rails for some cleats that will allow us to attach the top to the base. With all the joinery cut I can finally shape my legs. The inside of the leg gets a nice little curve And I'll flush trim the edge with my template to make sure that all four legs are the same.
Now, if you're intimidated by the look of this router bit, congratulations, you're human. This thing looks like something the terminator 1000 would turn into in order to finish the job. But if you run the router at the correct speed, use push paddles and take your time. It should be fine. The legs look a little blocky to my eyes. So I'm gonna add some shaping, just the gentle pillow to break up the flat surface. I use some guidelines for this work, but no matter what I do, there's gonna be some slight variance. So I can place each leg onto its adjoining rail and use a pencil to trace the final shape that should make sure that each leg and rail joint looks perfect even if it isn't.
Something I've been doing a lot lately is rounding over the edges where boards meet. It gives the piece a cool segmented look and probably isn't a detail that everyone will like. But I like it and my wife likes it. I even asked my dogs and guess what? Neither one voiced a dissenting opinion. So I'm gonna keep doing it. Time for the glue up. I'm using Titebond dark here. It's a pretty great choice for Walnut. If you have any exposed glue lines, they pretty much just disappear with this stuff.
To clamp the pieces together, I'll use a little miter clamping aid. I actually posted a video recently about how to make them and if you want to make a set, you want to check that out. It's pretty handy to have around. Bust a move. While the glue dries, I'll make up the cleats that will secure the top. We'll have one centered screw hole and two other slotted screw holes to allow for expansion and contraction. Now we can assemble the base. While I add glue to the joint and bring the two pieces together. The top and bottom then received their splines to help lock everything down. The cleats are then glued and screwed into the notches in the rails. Once the glue is dry, I can clean up the splints. And with that, the base is done. Now, let's make that big honking tabletop. The boards I'm using have quite a few flaws. To fill all those knots and cracks, I first start by strategically taping off the undersides. I need to block the epoxy from seeping all the way through the boards and blue tape acts like a sealer.
Not that kind of seal. The epoxy itself is mixed with a drop of trans tint dye to make it a dark brown and seriously try to do just one drop. It's not that easy. One thing to note, if you add too much of the dye, you can actually screw up with the epoxy formulation and it may not cure properly. So, don't go nuts. Once the epoxy is dry, I can sand back the high stuff and get ready to joint and plane all of my boards.
Now, even though my jointer is waxed, the walnut just had a tendency to really grab the table, which is why you see me kind of straining a little more than normal. And I'm also wearing gloves, which is something you only see me do when I need a better grip. Otherwise I don't wear gloves in the shop. And once again, that Oliver Planer proves its worth making quick work of these eight quarter walnut boards. Next, I'll rip the boards down until I have just a little bit over the 42" width I'm going for. And that leaves me just enough room to joint each edge before the glue up. After jointing we'll be pretty close to 42. And by the way, I suck and I failed to record the jointing process, but here are all the boards nicely jointed and ready for glue.
Once again, I'll use that Titebond II dark. Especially on an exposed top like this that's where the darker glue line can really be advantageous. If you see me glue up big tops in the past, you probably also saw me, you use the domino to help with alignment. That's a great technique. And it's one I highly recommend if you've got a domino, if you don't just keep in mind that it's not a necessity. In fact, you can see here, I'm just adding a clamp at each joint to help keep that glue up nice and even. An overnight dry time and this top should be ready for final shaping.
We sand any glue, squeeze out and then cut the ends to square it up. I want all four edges to have a slight curve. So I'll first cut away the excess with my track saw and then use a template with a flush trim bit to make a huge mess for the long edge. I'll use a half template. It's easier to make one of these instead of trying to do the full length. And it also helps me ensure that the curve is perfectly symmetrical. So now we're flipping the table upside down. It's not really so much heavy right here, but it's all right here. Now with a big chunky top like this, it could be fun to have an under bevel.
I'll use a hand held power planer for most of the work. And then refine with sanding and scraping. In some areas, nothing works better than a hand plane. with the top flipped I can begin smoothing the show surface. Any unevenness in the boards is tackled with my jack plane from there. I could sand and scrape. The edge then gets this little baby round over just to soften the look and feel. For the finish, I'm using a tung oil mixture. Few finishes bring out the personality of Walnut like an oil. Certainly not the most durable kind of finish for a tabletop, but it's food safe, pleasant to work with and the tables for my home. So I can always do any maintenance if needed.
But truthfully, I probably won't because that's just stuff that I like to say in videos. With the finish applied to the top we can flip it over and line up the base. I'll attach the base using threaded inserts and connector bolts. Those will be a little bit more robust and elegant than just driving screws up into the top. Here's a good joke for you. How many woodworkers does it take to screw in a threaded insert? And we can't forget the brand.
You know, I've got to make sure that I never forget who made this thing. Next. We fire up the Two Dorks Delivery Service and transport the table to my house. Duggie inspects the leg and my mom cheers us on. All of its heaviness. It's my favorite part and then Abby shows us her sweet nips. So does the design work? I think so. We've been using it for a few months now and I really have no concerns even when I push on it from side to side, I'm not really too concerned about the small amount of movement that I see. So I have to say it worked pretty well so well that I apply the same concept to a matching bench which we'll build in a future video. And that's the story of the criss cross table.
Remember if you want to build this thing and you need a little more guidance. We do have a full course available in the Wood Whisperer Guild including eight videos and detailed plans. Thanks for watching..