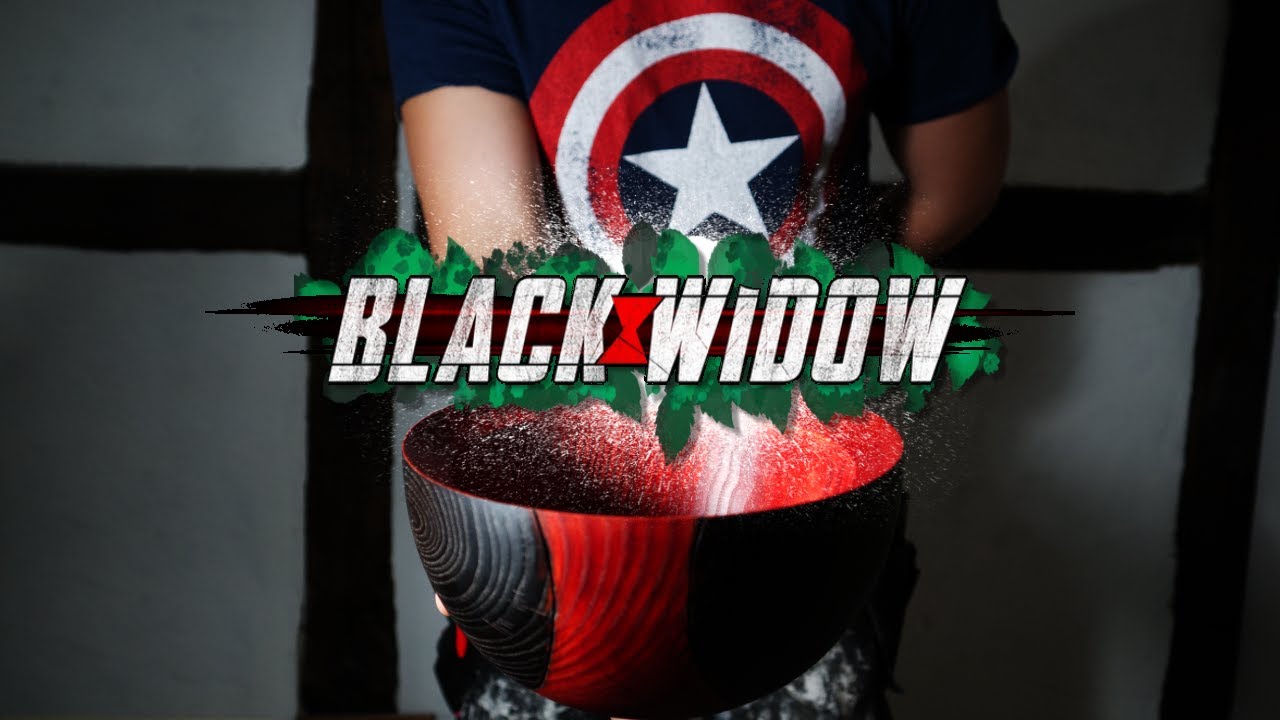
I just saw Black Widow and i had a really
cool idea I'm a big fan of marvel movies and when I saw this one I had a really cool
idea for a bowl that I wanted to try out this is the first time I tried to decorate
a ball and hopefully the results will be as good as they seem in my mind welcome to the
workshop vlog if you find this video enjoyable please give it a thumbs up and
subscribe if you're new here right so the plan was to take a square piece of
ash and make that round for that I use a really sharp pen or you know a band saw I will then drill
a hole in the center and mount it in a screw chuck I will turn the outside and make a
recess so we can remount it later on I will decorate the outside in a black widow
theme we will then flip it and turn the inside and lastly add a secret sauce and some finish but let's take it from the start I used the tailstock for some extra
support initially and a half-inch bowl gouge to shape the outside I went for a basic shape on this bowl
as the decoration will be eye-catching enough the boulder is closing in on its
final shape so I will remove the tailstock and also make the recess so
that we can remount it after decoration again I used my bowl gouge to do some shear
scraping for a better finish with less sanding I used dividers to mark
out the width of the recess and used a combination of tools to achieve
it mostly different skews and scrapers I've made the recess and it should
fit the shock don't quote me on that I will do some sanding on this to refine the
shape sanding begins where skill end and this is where my skill ends it will be a
bit of sanding for me and that's my cat there's this villain in black widow called the
taskmaster that's the bad one the mean character of sorts but anyway, the taskmaster has a shield
the shield looks something along the line of this I thought it would be cool if that is
portrayed on the outside of the bowl I took a tape measure to make sure it was
symmetrical and also failed some basic math with the help of a calculator, I marked
out the three anchor points and drew a line about an inch down from the rim I found
it more aesthetic anchoring the arcs from there with the scribe, I marked out
the semi-circles on the ball right so I got a design that I'm happy with so I'm
going to send away all the guidelines that I made and after that, I'll apply the ones that I want to
keep again I used a pyrography pen to fill in the lines then sanded the bowl again to get rid of the
spots where the burn marks bled outside the lines I sprayed on some water to
make the wood fibers rice and then sanded the bowl again this gives
a smoother finish and a better result this is ammonium chloride this is ammonium chloride mixed with water and
this is how that looks when exposed to heat what a shameless self-promotion that was on a serious note though this does work and the
idea was that it would be easier to control than a blowtorch would and also produce less
heat making the wood less likely to crack it's safe to say there were
quite some heat buildup anyway well the ball cracked as they
say you shouldn't play with fire I guess we might as well try and finish it I used some secret sauce aka red spirit stain I apply the furniture butter as it tends
to really bring out the colors of the piece and it also leaves a silky smooth surface
right so I'm pretty happy with that we're gonna flip this around turn the inside and
hope that it doesn't explode and we'll see as always I drill the depth hole to make sure
I don't cut too deep when hollowing the inside this piece of wood was felt before I was
born so it was very dry and difficult to cut right so I'm going to try to trim up
the end now that the bolts still have some mass on the walls they're still pretty
thick however I'm kind of scared that I will get a run back and ruin the outside
of the bowl that has a finish on it I did some final cuts on the inside making the bowl as thin as I dared given
the cracks caused by the heat gun finish the bottom with a round nose
scraper and sand it to a smooth finish to make the walls feel less bulky
I chamfered the rim a bit more I added more secret sauce to the inside and again sealed with furniture butter I had so much fun making this video I hope
you guys enjoyed it as well if you did give it a thumbs up that
really helps the channel and me and if you wanna you know tag along
on this journey then subscribe as well you


