
In a previous video, I made
a whole lot of tool holders to go on this wall but I still
have a lot of blank space. And I also still have
a whole lot of tools that I still
want to mount. I'll start with a
drill press vise and that's gonna go on
a piece of plywood, with some hooks
to hold it. I sanded these blocks
down a little bit and now I just
need to glue them so that when the vise
is hooked on there, these go right
in here. So I decided to just
put the vise on there to make sure they're
exactly positioned right. And now I'll just
leave the glue to dry while I work on
something else. For all these tools, I think
I'll arrange them like this. And I'm gonna have a shelf
that some of these tools go through and then
an area behind to have hooks for like this
and this and this and this.
I'm gonna mark where I'm
gonna cut the slots in the shelf for the
hammer handles, and for the square. Need about this
deep for this one. And for the hammer, the hammer goes about
this far back. It's such a pleasure working
with a freshly sharpened bandsaw blade. While the glue dries on that,
I'll work on some holders for these hand planes. The
hand plane is gonna go on this board. But rather than
relying on magnets or putting this
board at an incline to hold the
hand plane on, I made 2 L-shaped
rails that are gonna hook it on,
like so.
But I need that
shape of the rails to match the form
of the plane. So, here's the line
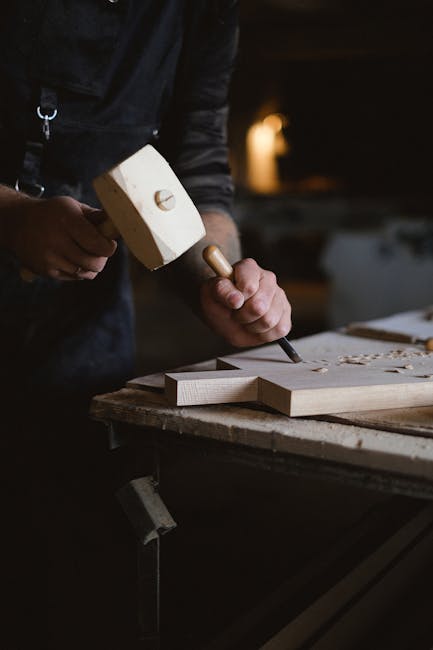
and I need to remove all of this stuff. Now, how to remove the
rest of this stuff without having to
chisel it all? hmmmm… So, here's
my idea. If I run this piece
along the saw angled just a little
bit like that, I should be able to
cut most of that. And to run it like that, I
should run it along the fence, with a shim here because I don't
want to make a taper jig, And if I set the blade to be
about this far from the fence, then I should clear
most of this.
So let's set
that up. Arrgh. Now I just gotta make that
shape a bit more elegant. Finally got these two things
whittled to their final shape so I can now
glue them on. I just made two more pieces
to hold this small plane. And the holder for
this one is dry now. When putting the
plane in here, there's a tendency for it to
get really wedged in there because this
is tapered. So to prevent that
from happening, I'm adding these
two screws here. And now it never
becomes tight. And I also carved a
notch right here to prevent the blade
from getting caught up when its being
lifted out. The glue on this vise holders
been dry for a long time and I'm screwing it on, right
through the hooks because those have to
hold the load. The glue on this thing
is long dry now and I've laid out where
I want the pieces. Just got to mark where
the screw holes go. I'm using dowels to
hold up the hammer. This dowel here is there to
make sure that the squares stay on square instead of
hanging down, like this.
I've had it happen before as
I'm banging away at things on my workbench, vibrations
get transferred to the wall and the hammer eventually
slides forward and as I keep
banging, it falls on
my work. So, I added these
two indentations to the bottom of the hammer,
and these two screws so it interlocks and it
won't wander forward. These two little
blocks, here keep the marking gauge
from moving forward. And I've got the block
here that keeps the square from sliding off. To keep the hammer from
sliding off of these they're slanted up
just a little bit and I have a shallow notch
carved in the top. I figured up here would be a
good, safe out of the way place to keep the dial indicator. But
to keep it from falling off, I made this little lock
that holds the top of it. I made this block with
some holes drilled in it and some slots cut
with the bandsaw, and that's so I can put
these knives in here.
I made this little shelf a lot
like my other tool holder so I didn't film it. And
this ones for holding my tape measures
and pencils. If you are gonna build
tool holders like this, try not to do it all
at once because its a surprising amount of work making all these little things..