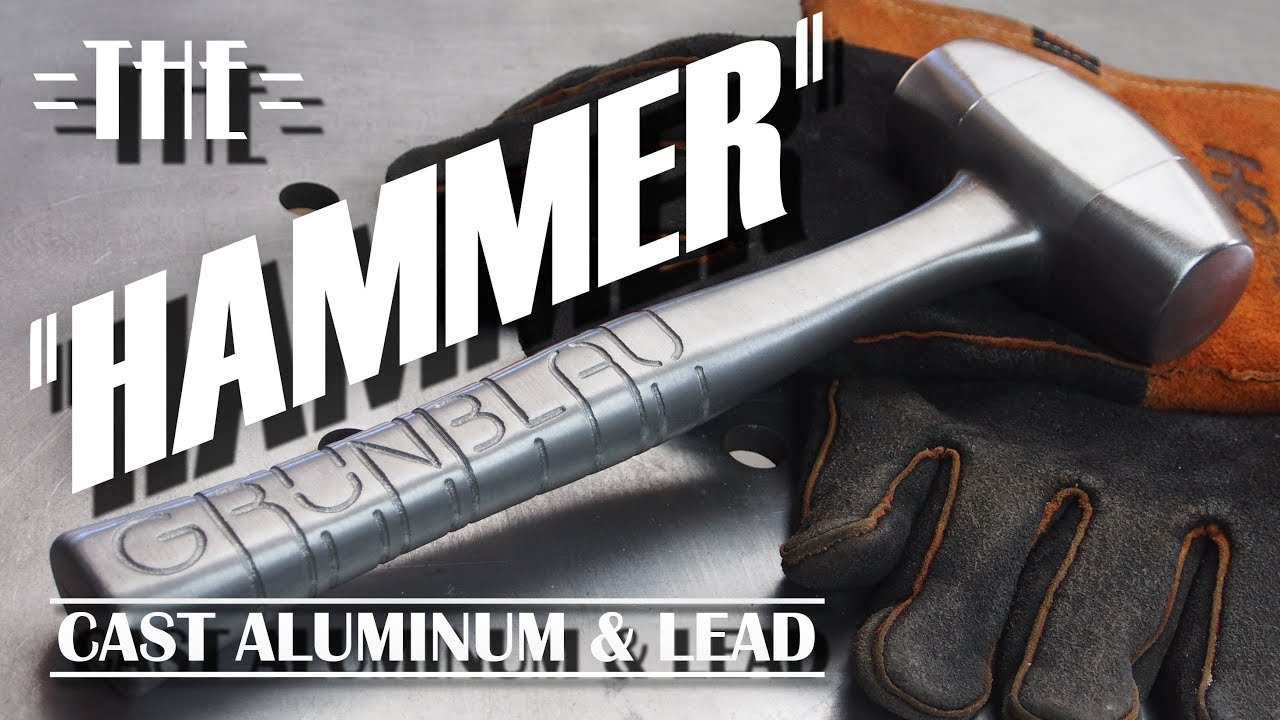
this is a story about a hammer a lead hammer this hammer will be one of the more complicated things I've ever cast but I'm up for the challenge I'll need to make three different molds one mold for the aluminum handle one for the core and one for the head the handle would need to be broken into three parts and reassembled due to its size the handle pattern the core print the core mold the head mold this represents over 24 hours of straight printing once everything is printed there's no excuse it's time to get started on making this thing a reality [Music] I printed everything at the standard quality with three shelves since I'll end up hand finishing the patterns this is the finish straight from the printer before I file the parts and smooth the surface I will then coat the entire surface with CA glue before a final sanding and gluing up the pattern here you can see how far I take the surface before the first coat of CA glue alt oh God ocean is amazing there's a lot of G's in the name yeah Brian Oh Brian from Michigan great dude he's a designer and a fabricator in an architect so check him out the glue will fill the voids and make it easier to get a smooth surface here's a comparison between an initial mock-up and the final handle the final shape is much better to hold this head is for visual reference and will be replaced with the one with core prints this is not the final shape of the hammer and it'll become clearer later in all of my 3d printing I forgot to add the pins I'll have to add some of these by hand [Music] these are just glued into place and filed flush for the core and head molds I'll be using sodium silicates and if I was going to make a lot of these hammers I'd make a permanent head mold out of aluminum after the sand has been cured with co2 the forms can be removed the head mold was designed so that the parts could be flipped to form the other side now to produce the core for the inside of the hammer head the hole in the center of the core makes curing and removing the core much easier [Music] this is just standard wood glue to join the two halves of the core for the handle I'll use petrol bond as it yields the best surface finish [Applause] this X will transfer to the other side of the mold and locate the sprue in the cope directly over the runner in the drag now to place the cord into its core print for this cast I'll not be using a riser instead I'll vent the mold to the sides of the flask I'll only get one shot at closing this mold as pulling it back apart would destroy the mold time to melt some aluminum [Music] Here I am degassing and removing the drums I am pouring this mold very hot in the hope that I'll get a continuous cast around the court [Music] after about a 20-minute wait I finally get to open the mold here is the rock cast I'll need to cut off the gate and clean up all the scenes with a file [Music] I used 320 grit sandpaper on the palm sander enough to remove the oxide but not affect the overall shape [Music] then I grained the handle with 220 grit in preparation for casting the head now that the handle is complete I'll cast the head and let for this hammer I'm using a sand mold for the lead I would probably make a permanent mold out of aluminum if I was making more than one of these I am using hardened lead shot leftover from making my gravity clams this led is hardened with antimony and will make a slightly harder head I am pouring slowly to allow the lead to keep the handle and to keep the shrinkage at a minimum [Music] the hammer may be a bit rough around the edges nothing a file a bit of elbow grease capsule [Music] all church altar gurkha hooker that's probably you


