
[Zip, Boom, Bang] [Heartbeat] Restoring Family History – Old Wooden Plane Makeover
[Music: Kevin MacLeod – Riptide] Today I will be restoring some history. A family who lived in the GDR behind the iron curtain gave me these old wooden planes as a gift. The previous owner passed away and now they consider me to be worth taking care of his tools. If you have a look at this one you can guess from the scratches on it's sole how regularly it has been used. The body is made from beech wood and a good sixty years old. Its iron may be even older.
This plane has seen the erection and the fall of the Berlin wall and surely served its owner very well but now it's quite worn off.
[Scratching]
0:00:47.000,0:00:50.000
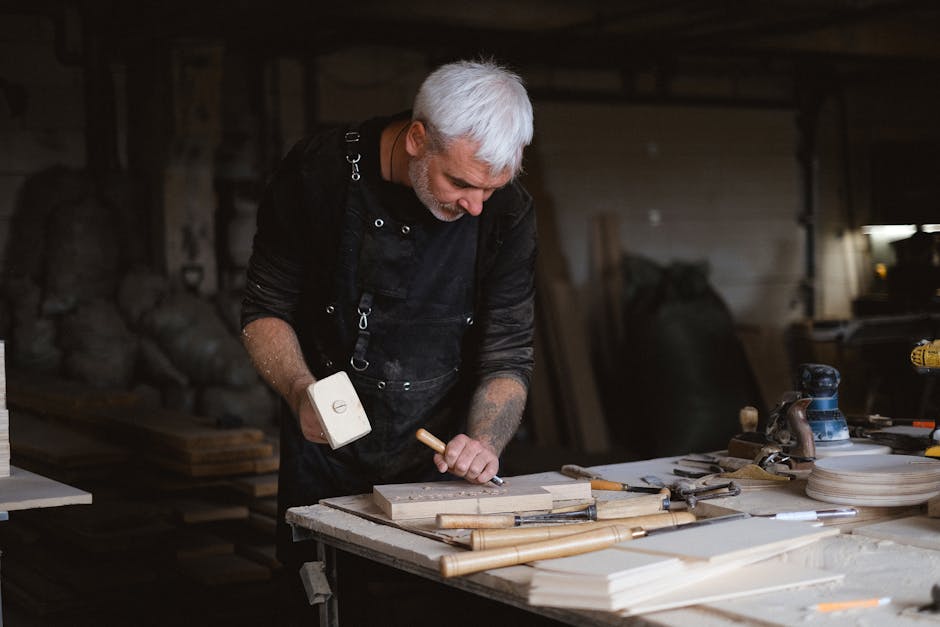
Time for me to bring it back to life. As you can see it doesn't plane well and will need some work. Some gentle hits with a wooden hammer help to disassemble the plane.
[Tapping] First I want to get rid of the old paint. I don't like the color and the surface is a bit dirty anyways.
[Grinding] I start grinding with 80 grain paper and go from 120 grain to 240 grain afterwards. The handle was loose and I use epoxy to glue it in place. Wooden glue wouldn't have filled the gaps.
In future I plan to do finer work with this plane. For this job the mouth opening needs to be shorter. That means I have to make a new sole. First I need to the old sole leveled. Therefore I mark it with a pencil. That way I can see which parts are still too low after grinding. What I need for this job is a flat surface.
I just use this junk piece of a kitchen board. As I plan to use Epoxy as glue, grinding with sanding paper of 80 grain is absolutely sufficient. It can be easily attached to the board by double sided tape and I prepare 120 and 240 grain paper for the following tasks as well. Be happy that video can't transmit everything yet. The dust smells like gasoline.
[Grinding] A good wood for a plane sole is hornbeam. If you have the choice, have the anual rings perpendicular to the sole. It will makes it sturdier. I transfer the rough shape of the plane and cut it out. A poor man's router like presented on Paul Seller's YouTube channel ensures I get a leveled board.
[Scratching] Clear water with a bit of dish washing soap helps me to clean the surfaces from oil.
You can't put too many clamps on. The trick is not to fasten them too tight or you will squeeze out the glue. After a day of drying it's time to remove the spare wood.
[Sawing, Grinding] Measuring the heights on all corners makes sure I am leveled. As the new sole closed the old mouth I need to cut a new one with a chisel.
[Tapping] I start to remove the center and let the tool cut away from the border before making cuts on the outside.
The sole is leveled on 80 grain sanding paper and in the following smoothened with 120 and 240 grain paper.
[Grinding] I also use the chance to smoothen the sides.
[Grinding] When using the plane later it will get stuck and leave marks if I don't bevel the edges. To let it hold down the wood right in front of the blade I leave the edge on the front of the mouth like it is.
[Filing, Grinding] I use a wet cloth to clean the wood from sanding dust. This will make fibre ends stand up. A final sanding with 400 grain paper will take away these fibres and create a really smooth surface.
[Grinding] I like kettle boiled linseed oils as finish.
This is different from pure oil as it hardens faster and it smells so much better than the old varnish. Make sure to drop the used cloth into water as the fast hardening oil may make it self ignite otherwise. After a hardening time of about twelve hours you could already be finished but this is a piece full of memories and therefore I want to somehow do it righer than right.
[Grinding] So I use 600 grain sanding paper and give the plane two more treatments with boiled linseed oil. My next task is to take care of the iron.
[Grinding] One could use chemicals or steel whool to get rid of the rust but I would like to try a method I saw on the wranglerstar YouTube channel.
[Grinding] It was done with grinding stones there.
[Grinding] I started on a 250 grain stone but it came out that the iron was in such a bad shape that I needed to go back to 80 grain sanding paper.
[Grinding] Usually you don't work on the whole back but I need to fix very bad scratches before I can try to get a sharp edge on it.
[Grinding] This should be a once in a lifetime job for this iron.
[Grinding] You can use a permanent marker on the blades phase.
This will make it easier to identify wheneverything is grinded. The primary phase should have about a twenty five degree angle. When I build the final phase I switch to thirty degrees. Due to the blade's bad condition I start on a 250 grain stone.
[Grinding] Then I go over to 1000 and 3000.
[Grinding] Lifting the iron sideways rounds the edges.
[Grinding] This prevents the plane from leaving marks.
[Grinding] The trick for the mirror on the back is to only create a small phase.
That way the sharpening process takes less time and you spare your stone.
[Grinding] I use a piece of aluminium to tilt the iron.
[Grinding] As I don't have a finer stone I use polish paste on leather glued to a piece of wood to finish the blade. I also refine the edges of the chip breaker and use Ballistol oil to conserve the metal parts.
[Grinding] The chip breaker is fastened at maximum 1mm from the blade. Some people like to put their finger under the mouth when inserting the iron. I Insert it on a flat surface that is not so hard that it damages the blade.
Hitting the wedge only slightly makes it sit just tight enough. Use a soft hammer from wood or plastic.
[Tapping] Control the position by looking along the sole. Put your finger under the mouth to feel your adjustments. Hit the blade on the side if is tilted. Hitting on the top makes it stick more out.
[Tapping] When it went too far hit on the body's back.
[Tapping] As the wedge also slides out you will need to give it a gentle hit.
[Tapping] That really works much better.
[Scratching] The chips need to be paper thin such that you can read a newspaper through them.
So this is my personal little Berlin Wall story. Without the peaceful revolution in the GDR I would have never met this family and this wooden plane would never have been given to me. I really appreciate this gift. For me it's a sign of how welcome I am in this family. That is why I put so much effort into the restoration of this tool.
[Ping] Production + Direction + Camera: XXLRay Musik (CC BY 3.0 License): Kevin MacLeod – Riptide Software: avidemux, gimp, hydrogen, LibreOffice, ffmpeg, Inkscape, LMMS, OpenShot Tools: Wooden hammer, Small hammer, Screw driver, Vice, Flat Board, Triangle, Cloth, Aluminium angle, 250 Grain Wet Stone, 1000 Grain Wet Stone, 3000 Grain Wet Stone, Anti Slip Mat, Leather, File, Chisel, Permanent marker, Blue Snowball ICE, Nikon 1 J2 Materials: Hornbeam wood, Epoxy, Double sided tape, Kettle boiled linseed oil, Polish paste, 80 grain sanding paper, 120 grain sanding paper, 240 grain sanding paper, 400 grain sanding paper, 600 grain sanding paper, Ballistol oil