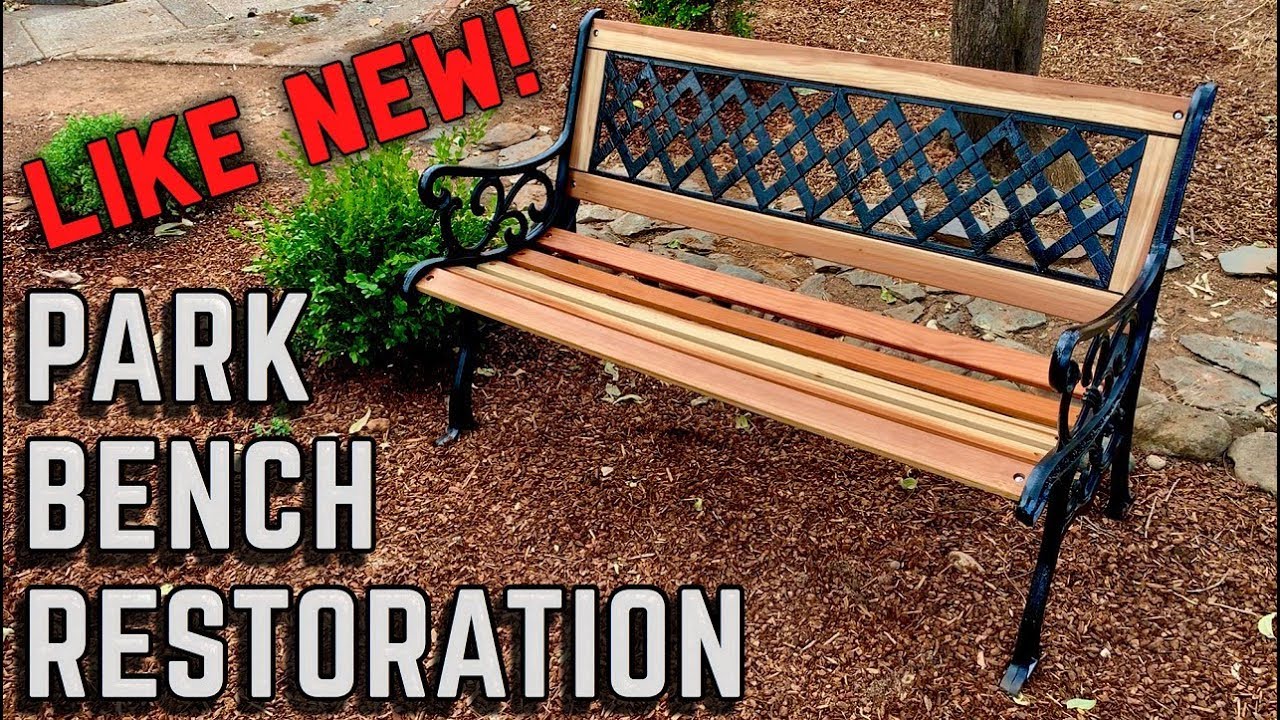
Restoring an Old Park Bench: A Step-by-Step Guide
Introduction
Are you a DIY enthusiast looking for a cool project to work on? Look no further! In this guide, we will show you how to restore an old park bench. With a few tools and some elbow grease, you can bring new life to a piece of history and enjoy the satisfaction of giving it a second chance. Let’s get started!
Step 1: Cleaning
The first step in restoring an old park bench is to clean off all the dirt and grime. This can be done by blowing it off with an air hose or using a soft cloth to wipe it down. For more stubborn dirt, a wire wheel on a drill can be used to remove rust and oxidation.
Tip: Avoid sandblasting
While sandblasting can be effective in removing paint and rust, it is not always the best option. In this case, the bench was powder-coated, which made it difficult to remove the green without damaging the metal. Cleaning it up as best as you can and painting over it is a safer option.
Step 2: Removing the Wood
Once you have cleaned the bench, you need to remove the remaining wood. Use an angle grinder with a cutoff wheel to cut all the bolts that are too rusty to loosen.
Caution: Protecting Your Equipment
Be careful not to damage your equipment while cutting off the bolts. The sparks from the grinder can scuff your camera lens or other surfaces.
Step 3: Painting the Frame
After removing the wood, you can now paint the frame. Use a clean metal primer to ensure that your paint adheres well to the metal. Don’t forget to spray all the frame components from all four sides to ensure that everything is covered.
Tip: Use Stainless Steel Hardware
Since this bench is going outside, it is best to use stainless steel hardware to avoid rusting.
Step 4: Cutting the Wood
After painting the frame, it’s time to cut the planks for the bench. If you’re looking for a durable and beautiful option, consider using redwood or cedar. Cut the planks to length, and drill the holes where you will attach them to the bench via carriage bolts.
Tip: Use a Forstner Bit
When drilling the holes for the carriage bolts, it is best to use a Forstner bit. This will drill a recess for the bolt head to sit in, ensuring a flat surface.
Step 5: Finishing the Wood
Once you have all the pieces cut, it’s time to finish the wood. Set the slats on painter triangles and apply a clear UV finish to protect it from the elements.
Tip: Use Bristol Clear UV Finish
For this outdoor project, it’s best to use a two-part high-gloss finish like Bristol Clear UV Finish. It covers well and self-levels nicely, giving you a beautiful, durable finish.
Step 6: Assembly
Finally, it’s time to put it all together. Attach the slats to the frame with carriage bolts and nuts, leaving them slightly loose. Once you put on the backrest, the bolts will tighten up, and you can secure them further. Install the center brace, using washers to space out the screws, and voila! Your park bench is like new.
Conclusion
Restoring an old park bench is easy with the right tools and a bit of know-how. As you can see, this project required cleaning, painting, cutting and finishing wood, and assembly. All of which are within reach for a DIY enthusiast. Once you’re finished, sit back and enjoy your handiwork, knowing that you’ve given a piece of history a second chance. Happy woodworking!

