Creating a Mini Garden Bench: An Easy DIY Project Using Dollar Tree and Walmart Supplies
Are you looking for a creative and easy DIY project that can add a touch of charm to your garden or porch without breaking the bank? Look no further than this mini garden bench using Dollar Tree and Walmart supplies! In this article, we’ll walk you through the step-by-step process of creating your very own mini garden bench that is not only functional but also visually appealing.
Supplies:
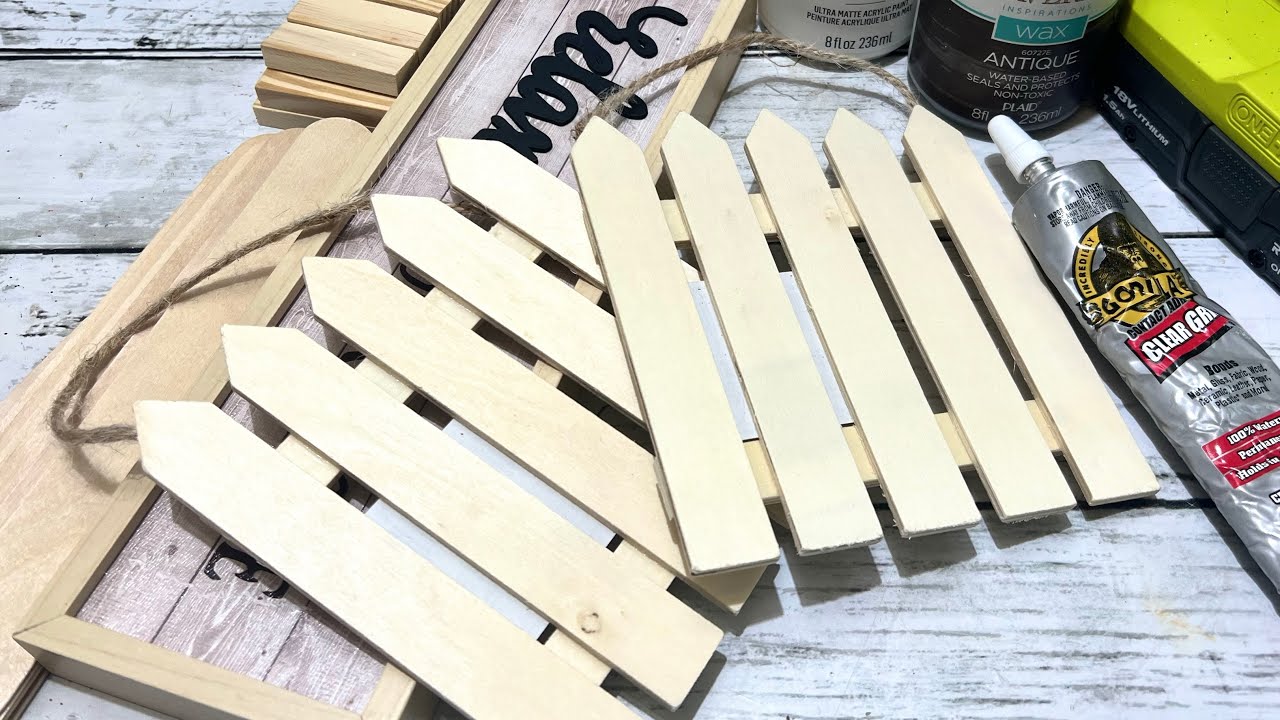
– 2 picket hangers from Dollar Tree
– 1 Dollar Tree little sign
– 12 tumbling tower blocks
– Jumbo craft sticks from Walmart
– Stir Stick type sticks from Walmart
– Cottage white chalk paint
– Antique wax
– Gorilla Glue
– Hot glue
Step 1: Gluing Tumbling Tower Blocks
To begin with, you will need to glue the tumbling tower blocks together with Gorilla Glue. Set aside 12 tumbling tower blocks and make sets of two, as you will need six sets in total. Apply glue evenly and stack them up one over the other, then set them aside to dry.
Step 2: Preparing Picket Hangers
Next, remove the hangers and staples from the picket hangers. You will be working with the back of the hangers, so keep them aside, with the front facing down. Use Gorilla Glue and hot glue to connect stir stick type craft sticks across the small pieces that connect the hangers on the back.
Step 3: Painting the Bench Components
Now it’s time to paint the various components of the bench. Use cottage white chalk paint to paint the entire hanger – front and back (where you have glued the stir stick type craft sticks). Do two coats of paint for the hanger. Then, take the Dollar Tree little sign and paint it with the same white paint. Do this for all the sides and a little bit on the top. Leave the writing on the top, as it will be covered later. Paint everything but the very front of the sign. Do two coats of paint on the sign and on four of the sets of tumbling blocks.
Step 4: Cutting the Jumbo Craft Sticks
You will now need to cut the jumbo craft sticks to size. Take one of the sticks and hold it up to the top of the sign. Mark off where you need to cut it. Double-check that it fits and then use this stick as a guide to mark the rest of the craft sticks. You will need a total of 11 sticks. Once you have cut them down to size, hold them all together to check if any of them need further trimming. If so, use Fisker shears to trim them down. Next, give them all a quick sanding.
Step 5: Gluing the Craft Sticks to the Bench
Place all the craft sticks on the front of the sign to ensure that they are set in place and lined up properly. Once you are sure of their placement, glue them down using hot glue. Start by gluing down the end pieces to ensure that the center ones fit properly and don’t move around while you’re trying to glue them. Be sure that on one side (which will be the back), all of the craft sticks are flush with the back of the sign, and on the front, they will be hanging over a little bit. Once you have glued them all down, sand off any rough edges and apply some Waverly antique wax.
Step 6: Adding Finishing Touches
The final steps involve gluing the different components together. You have already glued the tumbling blocks together, so now all you need to do is glue the little picket pieces to the back of the sign and mark off where you want them to go. Then put hot glue on the bottom of each of those and glue them in between the markings. To make sure that the legs are level, put a few wooden cubes from Dollar Tree underneath it. Next, glue the white sets of tumbling blocks that you’ve already painted to the side of the bench. Finally, glue the sets of tumbling blocks with antique wax on them to the legs of the bench.
Congratulations! You have now successfully created your very own mini garden bench using Dollar Tree and Walmart supplies. This bench is not only functional but also adds a touch of class to your garden or porch. The best part is that it is so easy and affordable to make that you can craft as many as you want and customize them to your heart’s desire. Happy crafting!
Conclusion:
Creating a functional yet visually appealing mini garden bench has never been easier, thanks to the supplies you can easily find at Dollar Tree and Walmart. With a few simple steps, you can create a garden bench that is both functional and elegant. The bench can be customized to suit your needs and gives a nice touch to your garden or porch. So, why not create yours today? Follow these easy steps and enjoy your own mini garden bench in no time.

