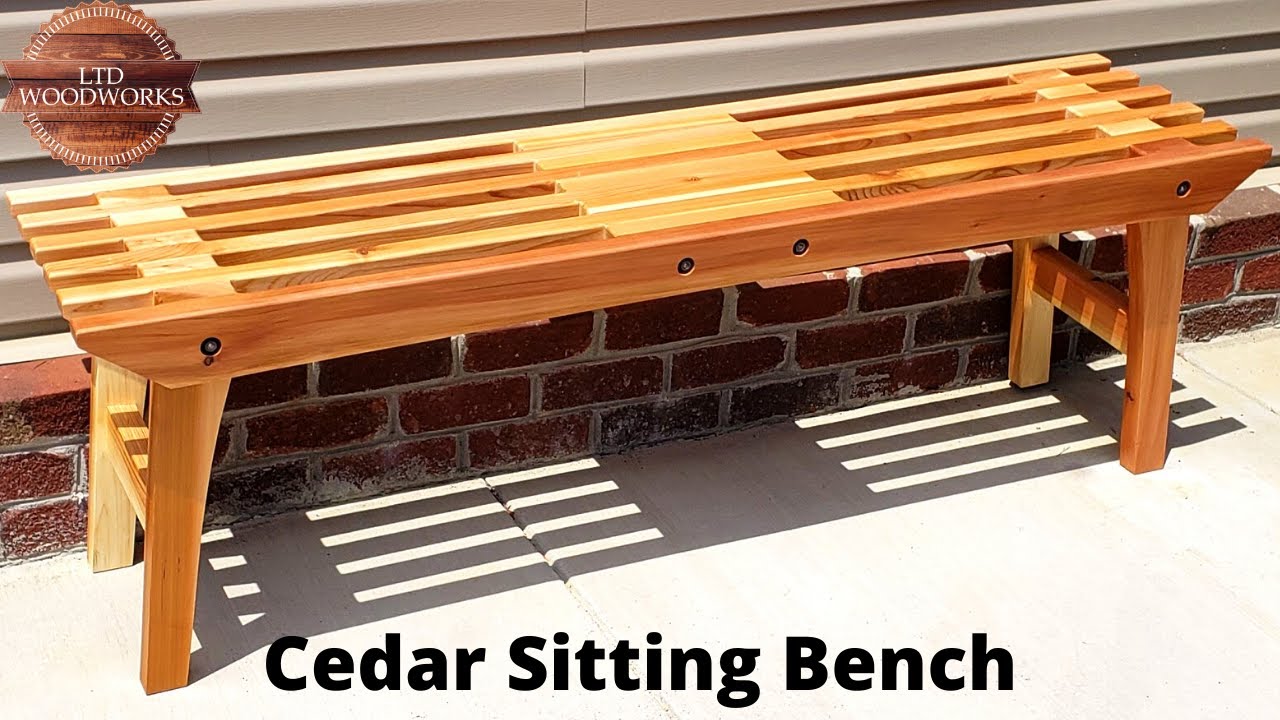
Cedar Garden Bench Project: A Shorter Version
Introduction
Hey everyone, my name is John Evans, and I wanted to take a quick break from making a French cleat wall to put out another video. In my previous videos, I have already shared two parts of my cedar garden bench project. They were pretty long, averaging around 15 minutes apiece. If you are interested in the project and want to see more details, check out the links below. However, in this video, I will be sharing a shorter version of the project, highlighting the important aspects and taking you through the process in about 6 to 7 minutes.
So, this video is for those of you who do not have much of an attention span. Let’s get started.
The Highlights of the Cedar Garden Bench Project
In this video, I will be sharing the highlights of the cedar garden bench project. As the name suggests, the bench is made from cedarwood, which is known to be durable and resistant to decay. This makes it perfect for outdoor furniture. The bench is designed to be a comfortable seating option in your garden or backyard.
Step 1: Cutting the Wood
The first step in the project was cutting the cedarwood into the required sizes using my table saw. I used a combination of 2×4 and 1×6 cedar boards for the frame and 1×4 cedar boards for the seat slats. I measured and marked the boards before cutting them to size.
Step 2: Assembly
Once all the pieces were cut, I started assembling the frame. I used pocket hole joinery to attach the horizontal pieces to the legs. This method is an easy and efficient way of joining wood together. Once the frame was complete, I added the armrests to the sides. The armrests were made using 2×4 cedar boards, which were cut to size and attached to the frame using pocket hole joinery.
Step 3: Sanding and Finishing
Once the assembly was complete, I sanded all the surfaces of the bench using a handheld sander. I started with a coarse grit sandpaper and gradually moved to finer grit sandpaper, giving the bench a smooth finish. After sanding, I applied a waterproof finish to protect the bench from the elements.
Step 4: Attaching the Seat Slats
The final step was attaching the seat slats to the frame. I used 1×4 cedar boards for the slats, cutting them to the required length and spacing them evenly. I used wood screws to attach the slats to the frame, ensuring they were securely fastened.
Conclusion
And that’s it for the highlights of the cedar garden bench project. I hope you enjoyed this shorter version of the project. If you haven’t already, please hit the subscribe button and the bell notification button to stay updated on my future videos. Perhaps my next video will be on the French cleat wall that you see behind me. Thank you for watching, and I will catch you all on the next one!

