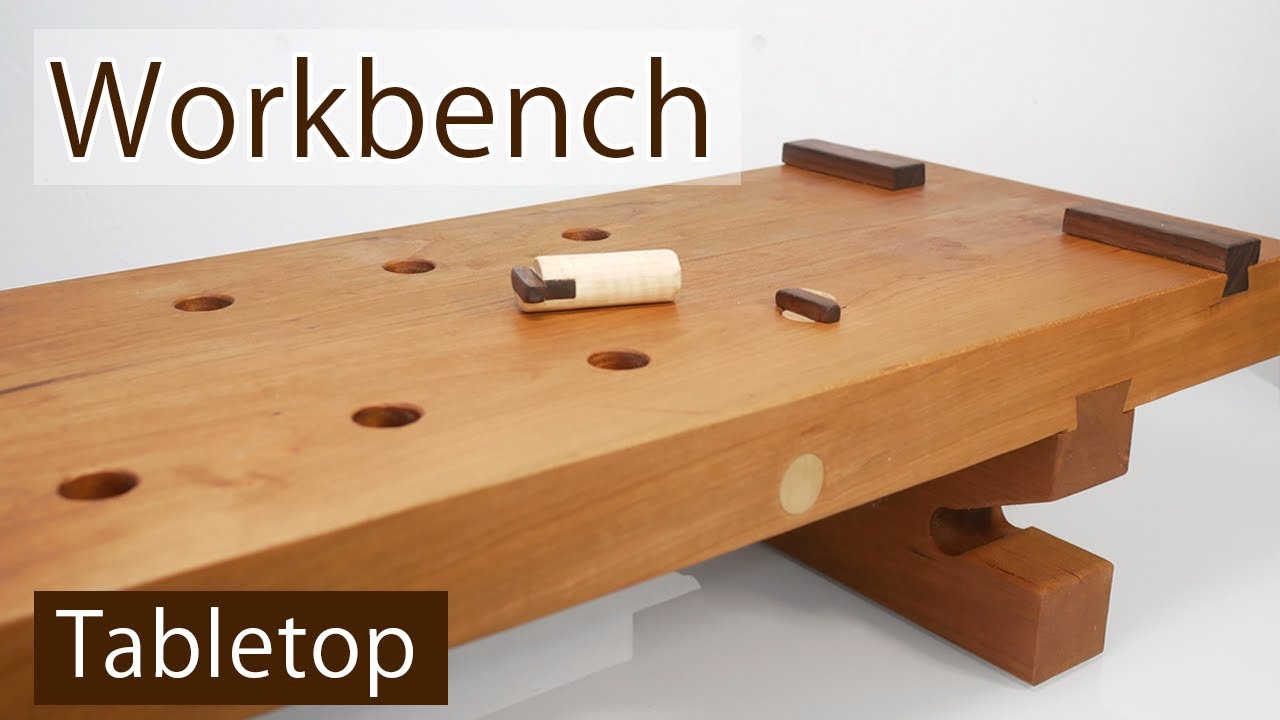
Hi everyone, like I said in the last video, I'm working on to improve my woodworking setups. and this time is a workbench and here it is. It's like a hybrid of a western workbench and a typical Japanese plane board. I know this is just a simple stable table but it's as a result of considering my needs and available storage space. Let's see how I made it I got this cherry and as usual I prepped the wood by hand tools It's pretty much because of my incapability of hand planing but it was so difficult to join 33" long board nicely with my 12" straight edge. Then I joined two pieces of the wood.
Since I wanted to use this as a plane board I set the grain orientation like the picture. In this way, it's not only easy to correct the surface but I can go with both push and pull style fabrication with the bench and there is less chance of tear out by accident. Next day, I roughly cleaned the surface. For the back side, because I wanted to keep this board as thick as possible I only flatten both ends where I'll put the feet.
I also fill the imperfection by epoxy at this time. Waiting for the glue to dry and epoxy to dry in 2 consecutive days is kind of a dilemma. Moving on to the next step I put two bow ties To be honest I didn't need them and I'm not a fan of the bow tie but I am simple stupid. When people say something good about what I make, I get super happy so I just added them to create something that will possibly make people give me kind words Well as long as you can cut the bow tie sides square, it isn't a difficult fabrication at all. I didn't even need sawdust but it was tight enough.
I found a tip for this so maybe I'll make a video about it someday. Then I trimmed the main board and cut the legs. Before I started woodworking, I actually had a circular saw for home repairing things and I always try to cut everything by the circular saw as if that's the only way to cut wood. but now I just love hand saws. Please don't underestimate hand saws if you are just like how I was. Anyways this is the leg and I just drilled and cut I know it's not really a creative shape but it's easy fabrication and functional. Now is the sliding dovetail I'm using the jig I made. With a good blade lubrication I can somehow manage to cut the outlines of the sliding dovetail but I still don't like the friction that the saw plane makes when going across the grains I think I have to improve the saw plane. Then I clean the bottom of the mortise by chisel and the router plane. by the way the dovetail was deeper than the saw plane blade so I cut only like the half of the dovetail depth and I cut it all the way with a saw by using the saw calf as a reference.
And now, is the tail. Since this tail is going with the grain, it was much smoother I cleaned the tail after this and then I tapped it in. I think I need a bigger mallet Here I glued only one edge. Well, it wasn’t perfect at all and there were chips and gaps. Since the other side was glued I filled a plug in where it chipped but I'll leave this side as is . This is going to be a reminder for me to be more careful for future work. It's almost there so now I drew all the dog holes and put stop blocks. This is where a western style meets a Japanese style. I wanted to use super hardwood for the stop block but I'll do it when I figure out the best height for my use after using this bench for several months This thing is kind of important to use some attachments like an end grain shooting board which I'm planning to make sometime soon. Anyways Here's the final product. It's very simple. The Japanese style bench is usually around 40" by 15" but mine is just about 33" by 10" due to my available storage space.
I also made bench dogs. These were going to be samples but I lost a little bit of motivation by the sliding dovetail results. so I decided not to make new ones but just use these I know you want to see the whole thing so here it is Yes, I don't have a tail vise because I want it a longer solid surface than the vise since I plan to use this as more like a Japanese plane board.
Though just in case I got dog clumps Once it's getting beaten up, I'll probably put a vise on the end and start pounding chisels on this bench like a western style. But for now, I'll work on making some attachments as if it's a Japanese plane board. I guess that's it for today. Thank you so much for watching I would be happy if you liked the video and happier if you subscribe to this channel. If you have any suggestion to my video that's also welcome. See you..

