
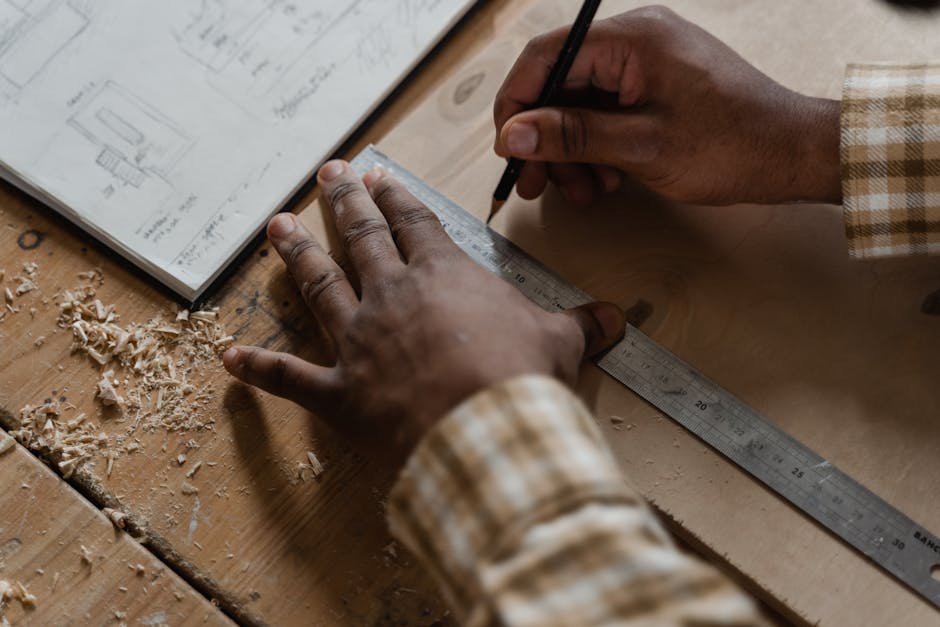
Hello, Shoyan here. I’m a Japanese carpenter. Today, I’ll build a raised area in this space by installing a ceiling that doubles as a floorboard. I’ll build a calm and relaxing area with a tatami mat. The size is 6.4 m2 (68.8 ft2). It’s 40 cm (1.31 ft) higher than the floor of the second floor. If the exposed materials were installed like this when the framework was built, there would be a misalignment of about 3 mm (.118″) at each corner. I’ll check the height misalignment. It’s hard to align perfectly, but I’ll measure the average height of each corner to level it.
There are only two beams in this space with no support materials on either side. First, I’ll install the support materials for the floorboards on both sides of the area. All installed materials are made of pinewood. I’ll cut a notch 45 mm by 15 mm (1.771″ by 0.59″ ) to match the dimensions of the beam installed in the middle of the floor. Of course, the installed middle beam is exposed. I’ll then cut a notch in this beam the dimensions of the support material.
The wall side will be embedded in the plaster wall, so only the exposed beam will be notched. Pinewood with a lot of heartwood will be used for the supports. It’s a challenge to chisel off a length of the support material, but upon completion, I simply need to insert the supports. It‘s not difficult and is a simple job. I’ve already applied the super-surfacer to the support materials. I’ll then finish them with a hand plane to remove any scratches. I’ll now install the support materials. When jointing with an actual dimension, I chamfer widely and use the kigoroshi* technique to install it. I’ll only secure the support material with screws on the wall side without joining. So, I’ll use four long 100 mm screws. When I install this type of material on my own, I lightly screw the lumber for support, then install it. The Tonton tool (Flooring hammer) comes in very handy when I must insert it from the narrow side. If I use a crowbar, the wall will be scratched.
It’s a simple but useful tool. Furring strips and boards will be installed under this support material to double the support, but I’ll also firmly screw the studs into the support materials. There is an exposed pillar in the center of this area. I’ll do a little kubikiri* on this section to install the floorboards. The beam on the right side of the pillar is higher than the left. In this case, I’ll hit the higher one hard with a wooden maul to align them and then do kubikiri. Later in the video, you will see that the floorboards will be installed upside down. Typically, the floorboards’ top side is the tatami mat’s support, and its bottom side is the ceiling of the first floor. This time, I can’t use the floorboards’ top as a reference point. It’s difficult to attach floorboards neatly to the installed pinewood materials. If the materials were installed when the framework was built, they would inevitably have a height misalignment. I’ll align them as much as possible before installing the floorboards.
The pillar was covered with paper, but it was flipped diagonally. For this reason, the pillar is discolored by the sun. I‘ll plane it, removing the discolored portion while I still can. It’s a little tricky to plane but will remove as much discoloration as possible. I’ve already cut the floorboards to length, choosing the ones without knots, when I installed the first floor’s floorboards. I’ll then set them vertically, checking the color balance. Next, I’ll choose both the first and last floorboards before installing them. I’ll now start installing the first floorboard. As I used kubikiri on the pillar, I’ll cut the floorboard by that amount. It’s unusual to see the floorboard’s bottom side on the kubikiri section instead of the top side.
It became an upside-down installation because it’s installed high up in the building, and the floor also doubles as the ceiling. The beams are spaced more than a meter apart in the area where I’m installing the floor. However, I’m using 30 mm (1.18″) thick joistless floorboards* with tongue and groove joints, so it won’t sag— even standing in the middle of the floor. The Japanese cypress 30 mm (1.18″) thick floor is quite stable. I won’t cut the last floorboard to fit tightly in place; I’ll cut it slightly narrower. The wallboard and tatami frame will be installed, so about 30 mm (1.18″) of the wall will protrude. Glue is applied only to the last board’s joint. A floor can have a gap between the beams if its spacing is wide.
I can’t screw the boards together or push them from the wall side. So, I’ll glue the last and next board together— so it looks like one board—and no gaps will occur. I always think like that. As I can’t push the floorboard from the wall side to attach the middle floorboards, I’ll temporarily set the wooden wedge until the glue dries. I’ve finished installing the floorboard that doubles as the ceiling board. Lastly, at the entrance to the raised area, I’ll install a Japanese cypress square lumber threshold as a stile. It’ll be installed on the pinewood beam. Even if the pinewood beam and threshold are well attached, the under beam might shift over time and create a gap. To make the gap less noticeable, I’ll cut a 7mm (0.275″) groove with sharp edges. This intentionally creates a gap and attaches well at the back. Now, I’ll trace the pillar’s shape onto the threshold material.
In Japanese, this tracing work is called Hikaru. “Do a Sumi” generally means to draw the marks or dimensions. When the shape is traced to measure the length, it‘s called Hikaru. I’ll cut a tenon on the side that joins the exposed pillar. A threshold is usually cut with a horizontal tenon. This time I’ll cut the tenon so that its upper side fits tightly against the pillar. This applies more pressure towards the bottom. As a result, the threshold won’t twist, and the exposed pillar will never rise. I’ll cut the horizontal mortise in the pillar to join the threshold. This is a work I don’t particularly like. It’s hard to chisel off the horizontal mortise no matter how many times I do it. Now, I’ll install it. I don’t think it needs glue but will apply some just in case. I’ll use the kigoroshi technique on the bottom of one side of the threshold only, then join the other side of it to the pillar. Now, step it from above in one go. In a situation like this, it’s best to step it in one go to avoid scratching both sides.
Next, I’ll chisel the pillar on the wall side and tap the wedges in. The wedges will push the threshold against the exposed pillar. This results in no gap in the future. I’ll then secure it from the top with long screws to avoid shifting. I finished installing the ceiling, which is also a floor to this raised area. After installing the tatami mats, the family’s small calming space will be complete. That’s all for today. Thanks for watching!.