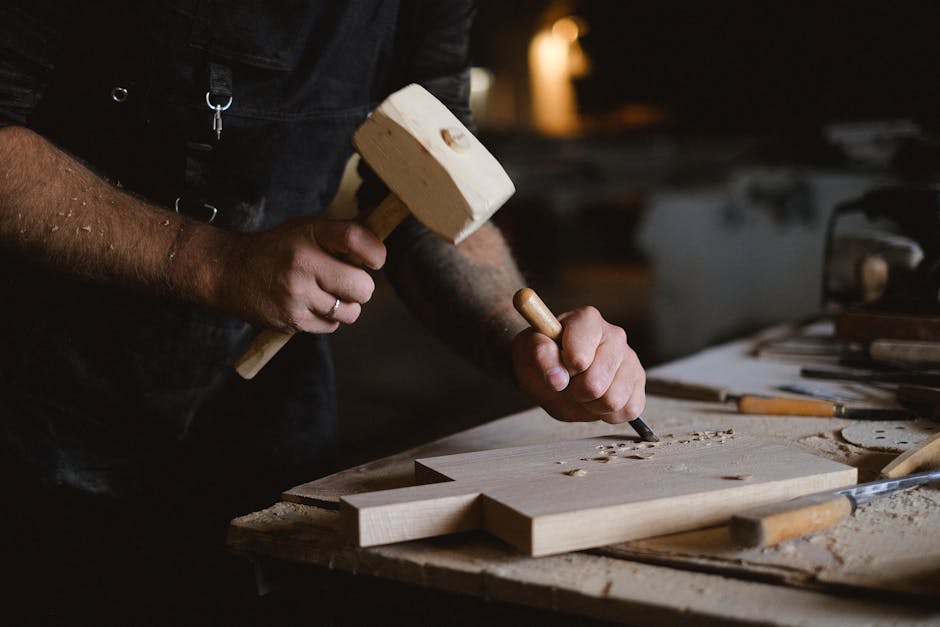
I start by removing all the branches with my hatchet Now I can top it off on my bandsaw and then cut it to length I'll cut two sections from the trunk which should yield enough boards to make two boxes I jointed two faces square on my jointer and I'm using them as a reference to saw boards from the trunk Now I need to dry the boards to around 7% moisture content 4 hours later my house smelled like a Christmas tree! It smelled so bad I had to move them to an old kiln in my storage shed After about 36 hours they were dry enough to work with here I'm laying out parts for the boxes With the parts milled I start by gluing up the top and bottom panels I use my 4 1/2 smoothing plane to edge joint the boards With a well tuned joint you don't need clamps tape will pull it together While the glue dries I start working on the box sides The boxes are 4"x4" and the joints are mitered Now that I have the miters cut I need to run 3 1/8" wide x 3/16" deep grooves Two of these are for the top and bottom panels And the third will be a rabbet for the lid this should make more sense as we get further into the build Here I'm setting up for that third groove I tweaked it off the fence…woops! The box sides are ready for glue up Now I just need to get the panels ready I level the joints with my hand plane Now I can cut them to length Then run a rabbet around all four edges which will fit into the box grooves I dial the fit in using my router plane I'm going to try a chip carving design on one of the box lids I'm laying out .5" squares along the top Then connecting them at the corners I start the carving by making a wall cut with my chisel The cut is deeper towards the middle this will create a slope when I carve it out Now I come back and chip out all the triangles This was my first time making this pattern, that combined with the fact that its pine didn't make it easy Pine is a very soft spongy wood and requires very sharp tooling to cut cleanly As you can see I painted the box lids and bottoms Here I'm taping off the outside of the boxes in preparation for glue up Now I can flip it, apply glue, and then close it up you want to make sure your panels slide in easily if they fit too tight the glue up becomes much more difficult I'll let these sit overnight and dry The next step is to cut grooves for splines The splines will strengthen the box and add a decorative detail I make sure to use a blade that cuts a flat bottom kerf Now I glue in walnut splines Once the glue dries I use my 14" Yates disc sander to sand them flush you could also use a hand plane for this Remember that third groove I cut into the sides? Now is where I cross my fingers and hope this works! I've setup to cut a 3/16" deep groove which should be offset from the inside groove I previously cut If its correct they should barely overlap cutting the box lid free and creating a prefect rabbet for the lid to rest in It was close but I had to use a knife to cut them apart hopefully now you can see how this works after some sanding and oil the boxes are complete thanks for tuning in!