
(graphics whizzing) – Welcome to DIY for Homeowners. – We're Mother Daughter Projects. – I'm Steph.
– I'm Vicki, and today, we're making a PVC art project! – And where's that gonna go, Mom? – Well, it's gonna go at Steph's house. She has these two weird openings between her living room and her kitchen, and they always looked
unfinished and we thought that would be the perfect
place to put these. – And this is actually
gonna be a continuation of a video we made back in January, our PVC Pipe Privacy Screen, and that video has over a
million views on YouTube and had a lot of great comments, so we're gonna implement
some of those ideas in this project, and
let you know at the end if we do 'em again or not! – We'd like to thank the Home Depot for sponsoring this project as part of the ProSpective tool campaign.
– And as always, there'll be a link in the description to our website, which will have all the
materials and a written tutorial. – Let's get started. – [Steph] First, we took
a trip to the Home Depot and bought lots of pipe. We got various sizes ranging
from half-inch to three-inch. To prep the pipes, Mom
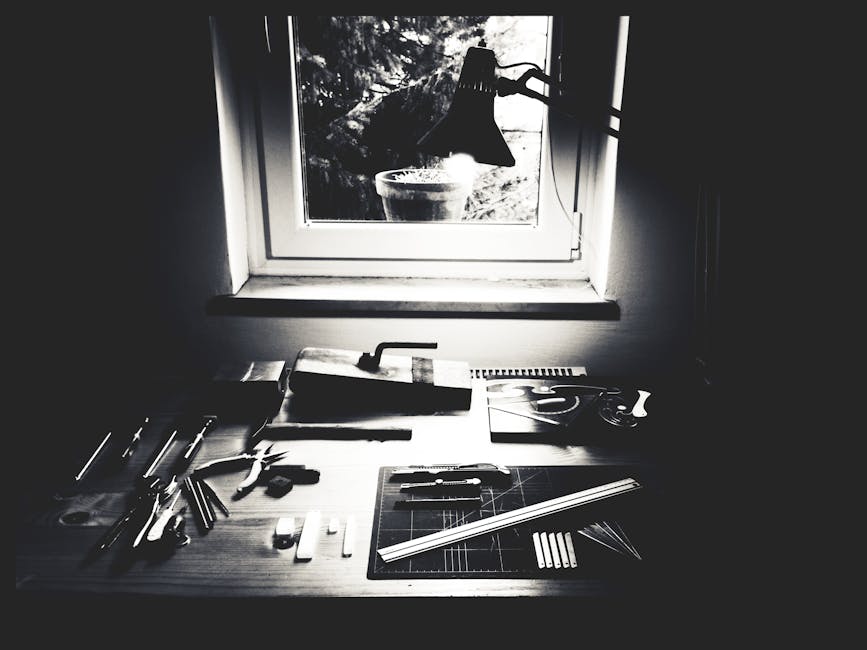
sanded the words off, and used mineral spirits to clean them up. Next, we started to cut
the pipe with a miter saw. We set up a stop block, which is that piece of wood on the right, so that all the PVC pieces
would be the same length. (upbeat music) You'll notice there's a lot of PVC dust, and we periodically
stopped and vacuumed it up. You wanna make sure you're wearing a mask and eye protection, as you don't wanna breathe in the dust.
– We made most of our cuts
on a Milwaukee miter saw, but we also got a Makita this
quarter and we tried that out, and what we liked about that was, the dust collection is
much closer to the blade so it does a better job
collecting the dust, but overall, both those saws did a
great job cutting the PVC. One of the things we learned
in our first PVC video was when we cut those
smaller pieces of PVC, they just went everywhere! And although we knew that,
we tried to cut it again on a miter saw, and again,
they just went everywhere.
So we decided to use a hand tool, a Husky ratcheting PVC cutter, and it was absolutely perfect. – Next, I'm cutting the
basic two-by-four frame, which we will use to make the panels. I laid out the frame, measured it out, and made sure it was nice and square. And for a temporary hold,
I'm using 90-degree brackets that I'm screwing into place
with our Dremel screwdriver, that you push towards
the screw to power it! As a base, we're gonna use corrugated plastic sheet we picked
up from the Home Depot to make sure the glue doesn't stick. First, we cut two-inch
and 1 1/2-inch pipe, and we placed them into the frame.
That's when we realized we really needed the smaller pieces and a few larger ones. So this one has 1/2-inch, 3/4-inch, one-inch, 1 1/2-inch, two-inch, and three-inch diameter PVC slices. But you know, we still were not done. In our original video,
you suggested using epoxy to fill in some of the PVC pipe, so that's what we're doing here, we're using epoxy that's a
one-to-one hardener to resin, and if I have any advice for you on epoxy, it is follow the instructions exactly, 'cause they're all a little different, and it will tell you
exactly what you need to do to make sure you have a good outcome. The first thing we tried was
laying down contact paper with the hopes that the epoxy
would not stick to the board and clamped slices securely to the board.
Originally, we thought we would add just a tiny bit of epoxy,
and that what is the bottom would be the front that
you see on the PVC panel. After 24 hours, we took the clamps off and removed the slices. And what we found was a
layer of contact paper that got stuck to the epoxy. That meant we lost the
shiny finish that epoxy has. So instead of scrapping that idea, we decided to just fill the
pipe all the way with epoxy. Here we added water to our mixing cups to mark where the epoxy
needed to be poured, to ensure we got an
accurate one-to-one ratio. We mixed it together,
and added a tiny amount of gold pigment to the mix,
and poured it into the pipes. We didn't have to worry
about it spilling out, as the bottom was sealed
from our original pour. Here we're using PVC glue to attach all of the pieces together,
and this worked fairly well, but we couldn't really tell which pieces had glue on them and which didn't, and also, because of the design, we're using all different size of PVC, not all of the pipes touched
another pipe on all four sides, and so what I would say is
the construction adhesive that we used in the
original video actually gave a better, stronger hold than this did, for this particular application.
For the second panel, we worked together, which made it a little bit easier to know what parts had been glued, but it was still a challenge to use the PVC glue for this type of project. You also may notice, the panels are mirror
images of each other. Mom thought this was more
aesthetically pleasing, rather than two different
designs, and I agree! Mom achieved this by
flipping over the first one and tracing the patterns of
the circles onto the backing. After 24 hours, we took the frame off and easily removed the
panel from the back! I pulled off any spilled
glue from the back, and discovered a few loose ones, which Mom easily glued back. When you look closely, the whites vary in color in the different PVC pipes. To get a uniform look,
Mom spray-painted them. Mom cut out a circle of contact paper with a two-inch hole punch to cover the epoxy circles while spray-painting. (spray can hissing) After a couple coats of spray paint, Mom removed the contact paper
to reveal the epoxy below. We also spray-painted
these metal offset clips with spray paint, and these
are what we're gonna use to secure the panels into place.
At my house, I put the
first panel in place, and it fit nice and perfect, and then I used offset clips on the front and back to keep them in place. I drilled a pilot hole and then used our Dremel GO screwdriver to secure it. Here's a good look at the offset clip on the front and back. And here, they are all done and in place. We could not be happier
with the final result. They look like they were always there, and fill the space so beautifully. They also remind me of a modern
version of stained glass. What do you think? Would you use the epoxy? And what do you think
of the mirrored design? Let us know in the comments below. – [Both] What we learned! – One of the comments that
we've heard over and over on our PVC screen was, "Whoa,
that is a lot of work!" And you know what, it was! (chuckles) So we looked
to see if we could find something that would mimic what we did, but was a lot easier to put in.
So Steph found this panel right here, and this is actually PVC,
and it comes this way, and she ordered this sample, and we liked the way it looked and we liked the quality of it. – And once I saw it, I thought, ooh, let's order the
bigger panels and put them in the spaces in my
kitchen living room area! And Mom said, "No, if we're gonna do it, "we're gonna DIY it like we did last time, "we're gonna cut the PVC,"
and I said, "Okay, okay!" And I'm happy with how it turned out, but I still would like to
use the panels in some way.
I have an idea for a project,
but if you want to see us use these panels, let
me know in the comments, 'cause we gotta convince Mom. (giggles) – Yeah, you do, yes. One of the things you have
to be very mindful of, when you're cutting PVC and when you're usin'
the PVC glue is safety, and we were sure to wear eye protection and a mask when we were cutting the PVC, and we actually used
a respirator type mask when we did the PVC glue, and we used a fan to blow all
the fumes out away from us, so it's really important to do that.
– And we already told
you that we wouldn't use the PVC glue again for
this type of application, but something you didn't see
in the video is right here, when we had already
unmolded one of the panels, it had broken in half. None of the pipe broke,
but the glue didn't hold. So we glued it again, and
now it's holding strong, but it just still doesn't feel as strong as our original PVC Pipe Privacy Screen, so if we were to do this again I'd use the construction adhesive, 'cause that seemed like
it was a stronger hold.
Before we got started with this project, I measured both spaces in the wall to see if they were the same size, and one was a little bit bigger, but I accounted for that, but ultimately, when we got the left panel up,
it was just slightly too big, and it's like, "Oh no,
what are we gonna do? "It's slightly too big! "Too small, we would've
(chuckles) been okay with." So what we ended up doing was actually cutting off a little bit
of the pipe on one side with a track saw and that cut beautifully. We didn't have any issues
or any splintering, so it's up there, it's cut, and I don't even think
people really notice. We already had someone look at it, one of our friends, and they were like, "Oh, I would not even had noticed, "unless you pointed that out!" – If you liked this project, let us know by giving us a thumbs-up.
– And thanks for joining
us, we'll see you next time! – Bye!
(beep) – Are you kidding? (laughs)
(beep) So I kept talking about the project, well, here it is, the original project, the PVC Pipe Privacy Screen. – Now we made another privacy screen. This one was in the
form of a concrete bench with some lattice, and you
can find that one right here! – You wanna know a secret? I'm not wearing shoes, and I
made Mom take her shoes off, so that we'd be the same height, so we're both equally shorter than normal. If you noticed, let us know!
(beep).