hey everyone steve here at sks props and
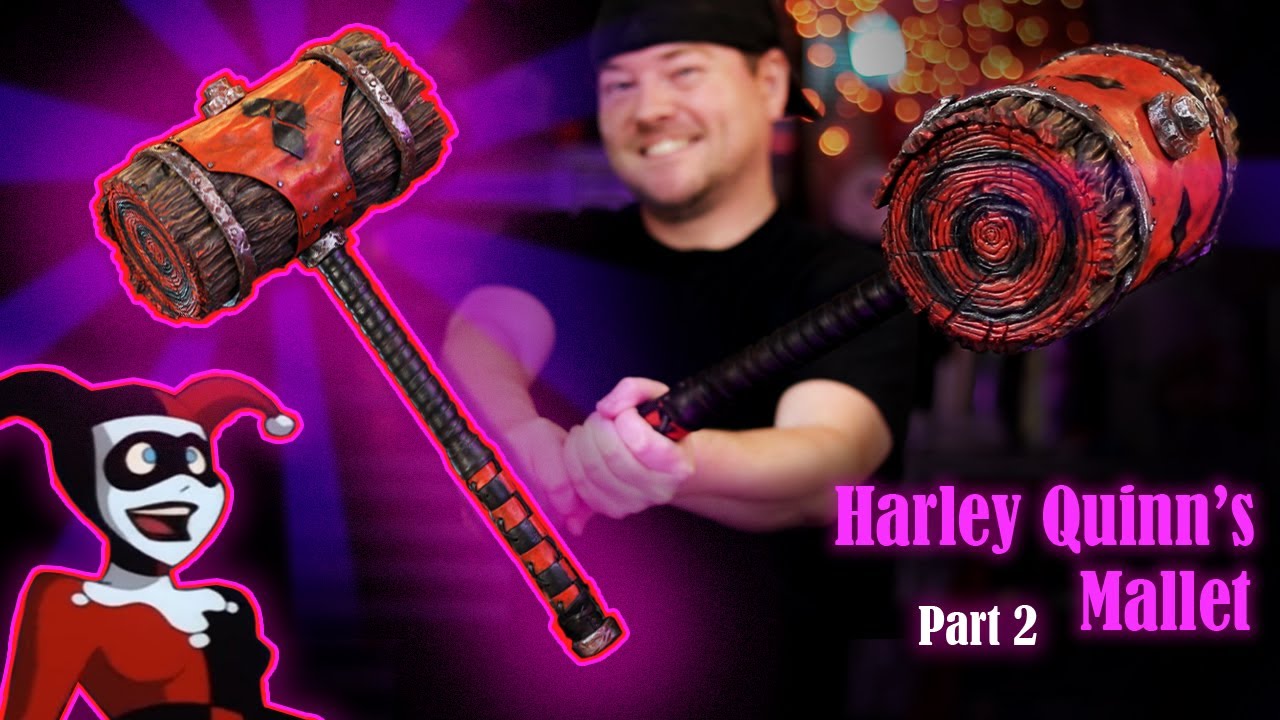
welcome back to part two of my harley quinn mallet build welcome to the shop for part two of my
harley quinn mallet build series if you did not check out part one i'll
have a link up above and down in the description
that video went over all the different fabrication techniques that it took to
put this together including this awesome wood texture and
a fully leather wrapped handle well two
millimeter foam leather wrap but it's good enough for cosplay now since that
video what i've gone ahead and done is i sprayed it with two light coats of
plasti dip and the reason you want to do that in layers is so you don't obscure
any of the details that you've got going on
especially all the little crinkly bits that i put into the leather using the
tin foil technique after that had fully cured i then went
in with some rust oxide krylon primer that is going to be our base that's
going to allow all the paints to stick to this properly
now we've got a lot to do to paint this thing so let's go ahead and get started
now i've got a lot of really cool textures going on with this piece and
the first thing i want to do is give it a black wash and to do that i'm going to
be using Utrecht brand mars black using a mop brush a ton of water is
added to the paint and that is applied to the surface making sure that it gets
down into all the little details a damp paper towel is used to blot away
some of the excess paint and water from the highest points
this paint and water mixture has to be generously applied to the entire piece
it does a couple things number one because the paint is getting
down into the details it makes everything pop
number two it gives a better base for additional acrylic paints to adhere
properly the biggest thing to note at this point
is that it is a three-dimensional prop so i'm constantly rotating it making
sure the paint gets underneath all the little details that i glued on
a hair dryer is used to lock in this layer we can start adding our colors
first up we have utrecht brand burnt sienna this paint is a heavy body
but it's a semi-transparent so i don't add any additional water to it
if you notice my mop brush it's very flared out and this is going to give it
a more organic and stippled look you want to take this paint and dry
brush it over just the highest points of the bark texture this will start to
highlight it to start my base color at the end of the
mallets i'm going to be using some liquitex brand heavy body unbleached
titanium this paint is mixed with the burnt
sienna that i already have on my palette which will help give it a more cohesive
look this mixture is also just lightly dry
brushed over the highest textures pure unbleached titanium is used for the
next highlight and notice that i'm watering some of it down to paint in
between the cracks of the bark after these paints have been allowed to
dry we're going to go in with another wash this time i'm using the mars black
burnt sienna and a little bit of yellow ochre to put a wash over the entire
surface when it comes to painting a prop a lot
of different layers and color shifts are what makes it look more convincing
especially when it's something organic after the wash is applied all over the
surface it's also locked in with a hair dryer the next layer is going to be one of the
most versatile paints out there it's liquitex brand heavy body raw sienna
i'm a big fan of this particular color and i use it from everything from
leather highlights to rust effects in this case we're going to be
highlighting the wood bark a little bit more and mixing it with some of the
unbleached titanium to give it a final pass now i know that looks really white but
we have one more wash i know this time we're mixing the burnt sienna
once again with the mars black and just doing a very very light wash over the
entire surface actually this is going to be more water
than pigment it's time to work on our faux leather
and to start off i'm going to be using liquitex brand cadmium free red medium
this paint is mixed in with a little bit of the mars black and applied to the
leather wrap at the top of the mallet while i let that dry let's go ahead and
move on to the handle and for this i'm just going to use pure mars black now if you notice the paint is not
completely opaque i'm allowing some of that red oxide primer to still show
through the checkered pattern on the handle wrap
is planned out and here i move to a smaller brush just to make sure i'm not
getting pigment all over the place the same mixture of the cadmium red and
mars black that i used at the top of the mallet is also used on the red squares here for my highlight layer i'm going back
with a pure cadmium red with no water i'm almost scrubbing it onto the surface
this technique will give it enough color but will help it look worn this same color process is applied to
the top of the mallet but using a larger filbert brush this kind of a painting technique does
require a delicate touch i want to make sure to have enough saturation of the
pigment that it stands out but i don't want to
fill in all of the embossing tinfoil techniques that i'd done earlier in some areas i went back and added
additional highlights just because oils of the hand would tint the leather
differently because the strips are two millimeter
foam i went in with some small detail brushes and painted all
the raised edges harley's logo and all of the rivet heads
also received a layer of the mars black liquitex brand iridescent rich silver
was then applied to all the metal sections
the thing to note here is that i'm allowing a lot of that original red
oxide color to show through this will help the entire piece look
more cohesive but also it's more visually interesting than these bands
just being silver so i use a larger brush to paint the
tops and sides of all the metal sections and then i switch over to a detail brush
to paint all the little rivet heads i started off painting a bullseye on the
end of the mallet using the original wood color and some of that cadmium red
and absolutely hated it i felt that black
would be a better look on the ends for the overall design
and that's the great thing about paint is if you don't like it go ahead paint
over it the cadmium free red was used to
freehand the rings on the end and a little bit of paint over splash on the sides
that additional paint obscured some of the ring details so i went in with a
very small brush and brought those back out and here we have harley's mallet at
least my version of it and i think that's why i enjoyed this project so
much is it wasn't just replicating it was
taking an iconic item and putting my own particular spin on it
maybe that's something that i do a little bit more in the future
and this particular build i also was really happy with how some of the
different textures came out specifically the wood grain that's up here on the top
i mean this is something reminiscent to what i had done a couple years ago with
stormbreaker which was successful but i can definitely tell that i've
improved on this technique over the years
same thing goes with the leather wrap on this handle or foam leather wrap
it still comes off as convincing as a leather weave
and you know these are the types of techniques that you guys can pick up on
and utilize in future build and if you guys are enjoying these
videos be sure to give them a thumbs up share them with your friends and family
and remember if you're building any of my builds or
using hd foam be sure to tag me on twitter and instagram because i love
seeing your progress until next time thanks for stopping by


