
Hey everybody it's Taylor with Boydston Grove
and today we're going to show you how to make some wooden frames for your
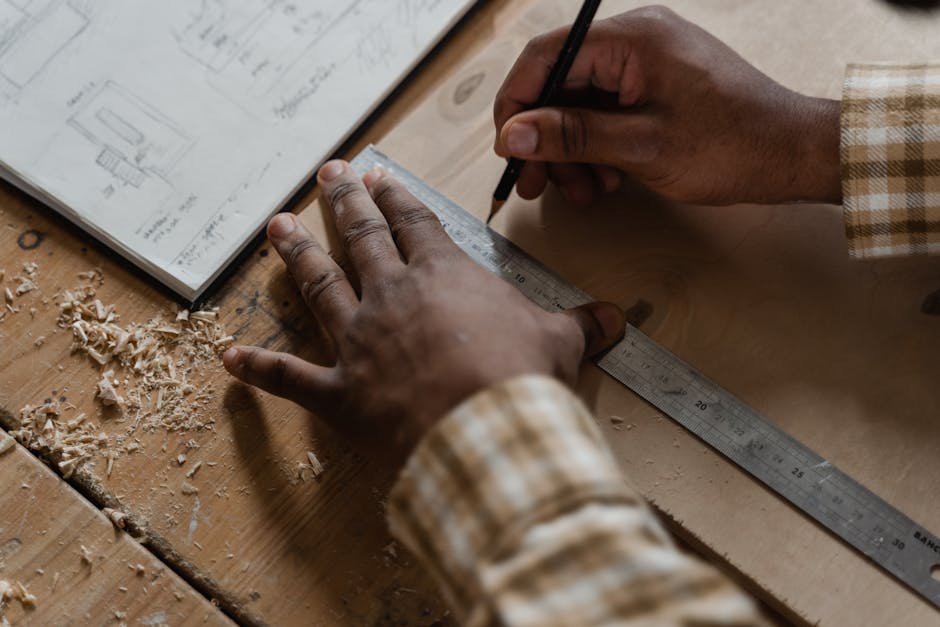
canvas art. Let's get into it! For the first frame, I used some 1×2
material that I had in the shop. I used the table saw to make an
L-shaped track in each piece. And then I used the miter
saw to miter the corners. After gluing the pieces together,
my impatience got the best of me, so I nailed the frame together
so I can keep the project moving. I decided to make a few more
frames and for these I used some two by four scraps that
I picked up from a job site. After cutting them to the size I wanted, I made
the same tracks in them with the table saw. Now, maybe you don't have a table saw and a
miter saw to break down all this lumber to make your own frames. But that's okay!
Most local hardware stores carry a trim that is meant to go over corners it's already cut
in an L shape.
So all you'll need is a handsaw to cut the mitered corners, some clamps, and
glue and you're set! No power tools needed! To clamp the smaller frames, I
used a ratchet or strap clamp. These come in really handy when making frames.
I'll leave a link in the description below. Once the frames were assembled, we gave them
a light sand and put some finish on them. Then it was time to get some
paint on a couple canvases! Krisztina started by tracing the designs she
wanted, using some graphite paper that we picked up at the local craft store. Graphite paper
comes in really handy when you're trying to do something precise like lettering. I'll make
sure to leave a link in the description below. To paint the designs and lettering on the
canvases, Krisztina used some paint pens. It's really important when you're picking out your
paint pens that you make sure to get a nice high quality. Make sure you look over the reviews and
see if anybody says anything about them bleeding because that's also really important.
You don't want your markers bleeding. I'll make sure to leave a link for the ones that
we used for this project in the description below.
All right, our canvas frames are finished.
I made quite a number of them so you can get a good idea of exactly what
you can do with this project. As you can see, there's different size reveals on
these frames. You can change that by just changing the size L track that you cut in your wood. This
one is super thin whereas this one is super thick. This frame is the one that I made out of those
old two by fours and I also made the frame itself really thick so that it can sit on top of a shelf
or on top of a bookcase or something like that. One of my favorite parts about these type
of frames is that they're reversible.
I left this one detached so I could show you.
If you'd rather have a thicker style frame, you can put your canvas in that way and have
that nice thick frame. This project was super simple and easy and a great way to display your
canvas art. If you enjoyed this video, make sure to like it. We have tons of other projects on
our channel, so make sure to check those out, subscribe, and hit the notification bell. And
we would love to hear what you thought of this project in the comments below. Thank you very
much for watching, be safe and have a great day!.