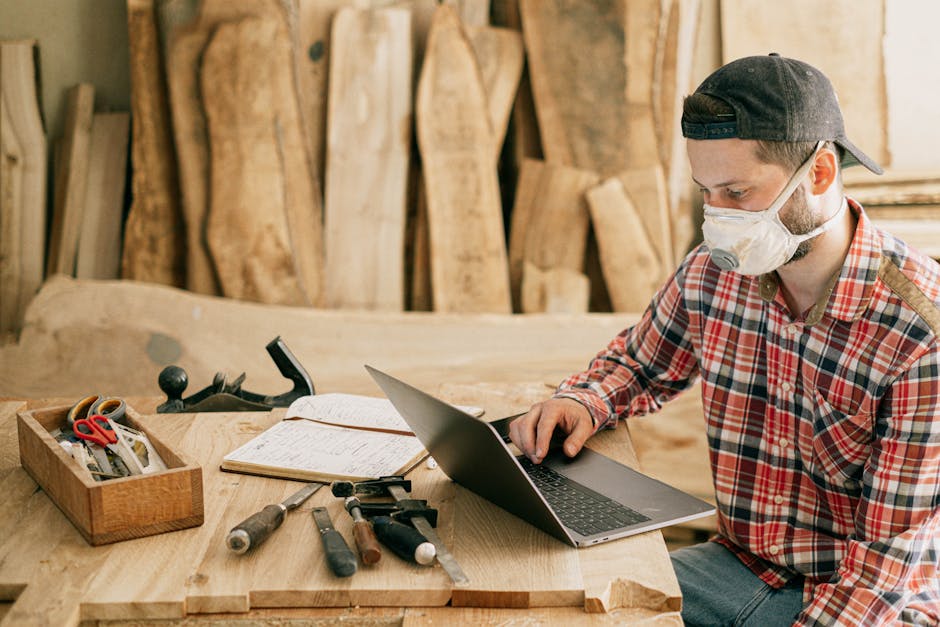
hey I'm Bob and I like to make stuff today I'm going to make something to organize my kids school supplies here's what we're trying to fix today I've got four kids three in schools so there's a lot of homework a lot of drawing and crafting and stuff that happens here and unfortunately all the supplies that they use for that the pencils and crayons and paper and scissors and all that stuff ends up in a pile right here on these shelves it makes a huge mess it's ugly to look at and it's hard for them to find what they want so we're gonna organize it I'm trying something a little bit different on this project and it's really just to save time and wait instead of using plywood for most of the structure I'm going to use this pine panel this is made up of one by fours glued together into a panel and I bought it like this at the Home Center it's probably cheaper if you were to buy the one by fours and make the panel yourself but I'm trying to save time and these were ready to go I started with a couple of strips of these panels to use for the side panels of my box I used a miter saw just to cut them down to the right length then I switched out my blade on my table saw for my dado stack and any time you use a dado stack you want to do some test cuts on some scrap wood to make sure that the fit is okay the first time I didn't get it right and I had to add some shims until I got the perfect fit then I ran both of these pieces over the blade to get dedos on both ends and right down the middle then I cut down some more pine panels for the top the bottom and the center shelf I ripped these panels down to the correct depth and then use my crosscut sled to cut them to the right size i measured the gap in between the data is that i'd cut and cut a couple of more strips to fit in between those you'll see what I mean in just a minute I sanded down all the cut edges before I started gluing things together then I found a center point on all three of my panels and from that center point I measured in each direction 3/8 of an inch so that my 3/4 inch material would be centered right in the middle of the panel with all those marked I knew where to glue in my dividers added some glue lined it up with the marks that I've made and then added some clamps to hold it in place I drove in some Brad's from the back side to hold it there so I could remove the clamps and keep working I did the same thing for the second shelf and then these were ready to go I had some glue inside all the dedos on the end caps and on all the pieces that we're going to touch and then I just started snapping all the pieces into place and it went together very quickly you'll notice on the back side that actually cut these pieces shorter so that I can put a back panel across them then I clamped everything up so the glue could dry I only like halfway thought this through when I was making these panels shorter so that I could put a back panel on here I didn't cut out this area it's not a big deal though because I'm gonna use a flush cut saw and just trim this off in both directions that way I can put a panel down on the back these saws are really handy to get a nice close cut and I buy the cheap ones from Harbor Freight so they're just three or four dollars the panel fit right in and then I use some Brad's just to hold it in place there was really no need to glue it on I want to point out really quick that if you stopped right here this would actually be a really simple but useful in box out box kind of thing for school papers we have a lot of forms for field trips and homework and things like that and this would be a good way for kids to be able to put them in a place that you could check them off before they go back to school these are size just for a piece of paper to fit in but if you need a folder to go in there you can just stretch the whole thing this way a little bit in both directions you should be good to go all right let's finish this up okay as I often do I'm changing my plan in the middle of the project originally I was going to have two crates that set on the top of this and they were both just kind of rectangular crates one would be full of these containers that I got at the dollar store and the other would be just a big dump bin for crayons but now that I got here I think it would just look like a giant rectangle and I want it to be a little bit more interesting so here's what I'm thinking I'm gonna put a trim piece of some sort around the entire perimeter up top kind of like this piece and let these canisters sit on the side then I'll make a bin that will drop down in the center to hold all of those crayons I'm telling you this because if I had planned this change at the very beginning I would have cut these side panels differently instead of having this panel plus trim I would have just made it all one piece and cut these dados in accordingly so if you're going to make something like this just think all the way through it get your design completely done and then cut your pieces I cut several 1-inch strips of the pine to use for this trim around the top then I cut 45 degree miter zhan these using the miter saw that's really important when you're doing something like this to make sure that your saw is at 45 degrees it's worth taking the time to get it right if you don't you'll have gaps in your corners mine are pretty close but not quite perfect but I had a glued all the surfaces that were going to touch and to put everything in place I used some clamps to hold these down and I probably didn't need the corner clamps but I just like using them so I added them as well there just a couple of dollars a piece but they are super helpful to make the crayon box I cut four pieces of pine using the same mitre set up on my miter saw then I ran all the pieces over the lower table saw blade to add a dado I move the fence over just a little bit and then ran them over again to make sure the data was thick enough to use this 1/8 inch plywood I added some glue to all the surfaces that we're going to touch and then use blue painters tape to line up the outer edges before wrapping the whole thing around my piece of plywood the tape is probably enough clamp here but again I like using the corner clamps so I used them here as well with everything dry I tried out the tray in the top section and it works pretty well but was a little bit tight so I used a sander just to smooth down the outer edges and round over all the corners I found that that caused a little bit of a gap in some of my corners where I've made miters so I just filled those with some wood putty after that drive I sanded it off this will be used by kids so I smoothed off every corner and every edge that I could with sanding block and input a few coats of poly acrylic on this it's a really easy clear finish to use it's water-based it's easy to put on and dries pretty quickly I could just imagine how gross the inside of the crayon box would end up looking with all those crayons rolling around so I decided to paint it and to do that I masked off the outer edge with some blue painters tape then I spray-painted it and it turned out to be the same color as the tape which was kind of weird but after that drive I pulled off the tape and it was pretty much done I had some polycrylic to that container as well just to protect it then I just had to clean up all the old stuff move the supplies that we wanted to keep into the new container and get it all ready for the kids after school there it is it looks way better than it did before I'm really happy with how it turned out now obviously this is not all of their craft supplies there's a bunch of other things that didn't fit on here this is the stuff that they use on a regular basis to do homework and just to draw all the other things are just going to go in a big plastic container that we can put in the closet they can get it out when they need it and put it away when they're done I hope this is useful for something that you might need in your house and I hope you like this project I'd love to know what you think about it down comments below I've got lots of other videos that you might be interested in all sorts of different projects and don't forget to subscribe to the channel so you never miss a new video but just incase they come out every Thursday morning that's it for this one guys thanks for watching I'll see you next time