hey guys in today's video i'm going
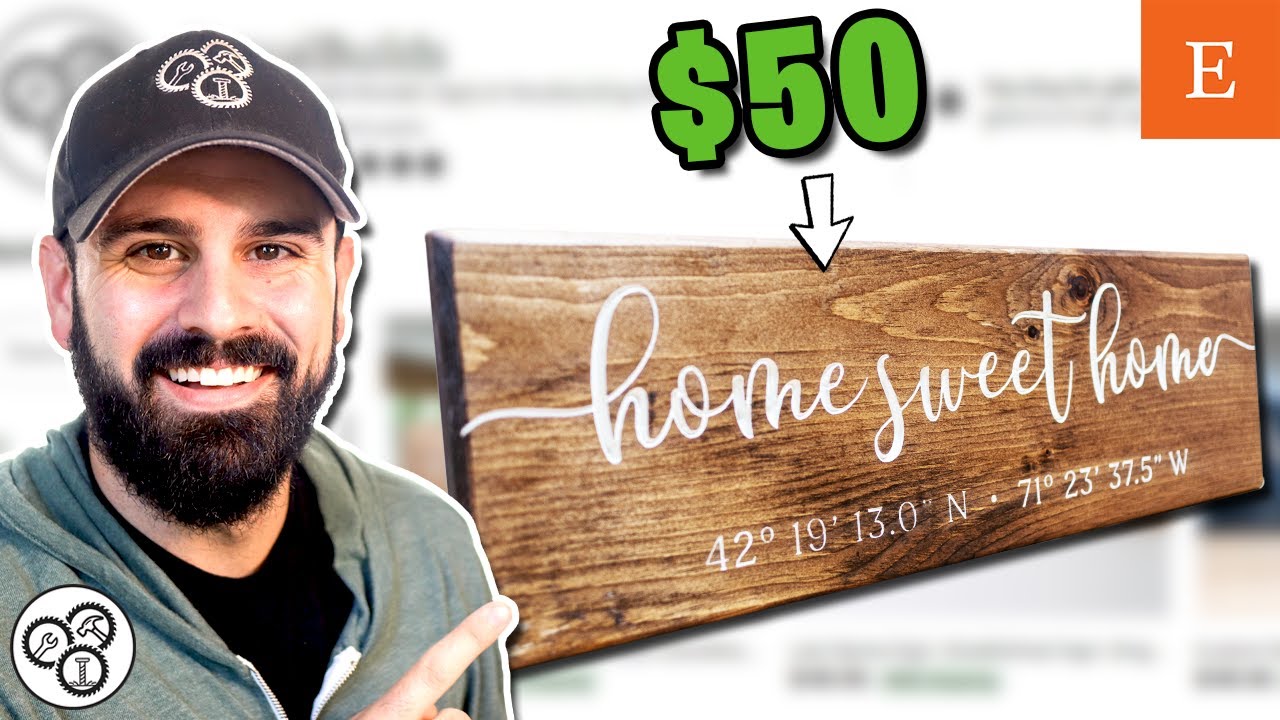
to take you through my process of how i've been making these custom engraved
wooden signs that i've been selling on etsy pretty simple process but i'll walk
you through each step along the way from what wood that i use and how i engrave it on
the cnc the design how i come up with the design and then even i'll show you how i get them
ready to be shipped out so if you have any questions along the way drop them down in the
comments i'm usually pretty good at responding to every single question in there so if you have
questions or if you have any tips and tricks definitely let me know as well i actually made
a video about this same concept a while back and i learned a lot from you guys putting comments
and suggestions and tips of different ways to do things so i'm gonna incorporate some of those
in this video so hopefully you find it valuable so without further ado let's uh let's go
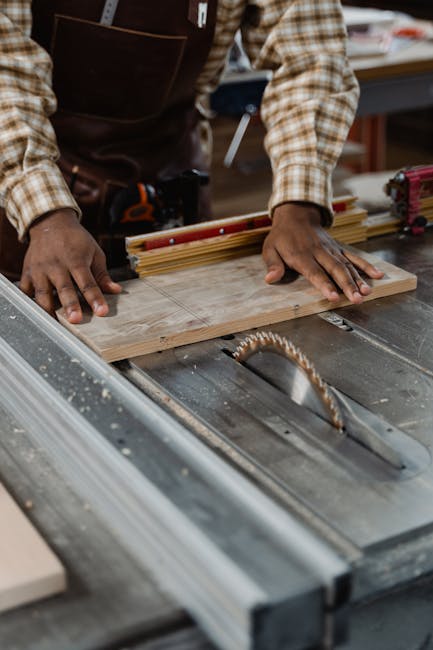
ahead and get started making this sign so the wood that i'm using is just standard 1×8
pine that i picked up from lowe's you can go to home depot or really any store that sells just
pine nothing too fancy i didn't spring for the premium pine which just means that it doesn't have
knots in it i already have all of these boards cut to length and that's 23 inches but what i need to
do now is take them down to their exact width of 7 inches and that's just the typical dimensions that
i like to use for my sign but if you're making a similar sound you could use whatever dimensions
you'd like and some of these boards have some really bad cupping to them i'm going to leave
these for a different project because i might rip them down to less than six inches so i can flatten
them over at my jointer but i want these signs to be seven inches wide so i'm gonna make sure
that i pick the most flat pieces for these signs so now that i have the most flat pieces sorted
out and i put all the cupped ones over to the side i'm going to look at each one of them to
make sure that there's no major knots kind of in the middle of the board where the carving would
go and if there are i'll put them to the side and i'll use them for something else so i'm going
to set the fence in my table saw to seven inches and then just rip all of these down to get them
to the dimensions that i like for these things oh and quick little pro tip save the
little off cuts because they are perfect for stirring up the stain when we get to that step so next i like to put a 45 degree chamfer along
all of the edges on the front side of the sign so i look at each board i determine which side
looks the best and then i put the chamfer on that side the bit that i have here is a 45
degree chamfer bit i have it hooked up to my router table you don't need a router table i
just like using it over here because i can use dust collection and it just helps to keep
my shop nice and clean so why don't i run all six boards through here put a nice little
chamfer and then we'll move on to the next step so the champers are looking pretty good next
up we gotta sand everything so i am going to use my random orbit sander with 120 grit
but i only like to use this thing on the front face the back face and then
the edges the little chamfer part i like to use a hand sander i like to
sand it by hand just because it just makes the angle just keeps it and if i use too much
of the sander it just you know so how you like to hand sand it i don't really have a better
explanation for that this little thing is pretty cool though it's a it's a sanding mouse it's got
velcro on one side so it works with just like the sanding disc that you get with your random orbit
sander and it just sticks on this is 120 grit as well and uh yeah so i'll hand sand the chamfer
part and then we'll move on to that next step all right so now it's time to
stain the board i have three go-to stain colors and that would be english
chestnut dark walnut and true black so i really like the english chestnut and that's the
one that i'm going to be using for this specific sign it's a lighter stain but when i do the
engraving then i will make the lettering um i'll paint it white and it just the contrast between
the two looks really good with dark walnut or true black i'll usually just leave it the natural wood
color after i stain it and then i'll just put the top coat on it so i'm gonna put on a little bit
of stain and i'll just kind of well you'll see all right with the stain drying let's hop
on the computer and work on the design and then get things ready to be sent to the cnc all
right the first thing that i need to do is open up illustrator and then create a new project
and then you want to make that this image or the artboard size matches your sign
so in my case it's going to be 23 inches wide and 7 inches tall press create next i want
to add the text in for my sign so i'm going to hit t to open up the text tool and then i'm going
to type in home sweet home i'm gonna bring that to the size that i need go over to properties
and then change the font so i bought a font from someone off of etsy and it's called olivia open
that up scale it to size again and the cool thing about this font is that you can add little tails
to the end so in order to add the tails you got to open up the character map and when that's opened
up you go to the font right here you do group by and then change that to unicode sub range and then
opens up this little filter scroll all the way down to the bottom for private use characters
and now it opens up uh this little map it's kind of hard to see but you can select the letter
that you want the tail for in this case for the h press select copy go back to illustrator and then
paste that and then you get the little tail and i want the same thing for the e as well and there
you go so i'm going to scale it so that the tails go from one side of the sign to the other side
all right i got the coordinates here now i'm just gonna make sure that everything is aligned to the
center looks good to me so now you gotta highlight or or select all of the text on this illustrator
file go up to object and then press expand and when you do this it basically turns it into
a vector image and next we're going to go to file export and then export as and we're going to save
this sign as an svg file all right now that i have easel opened up this is the software that i use
for my cnc i have the x-carve made by inventables this software is so easy to use so first i'm going
to set up the work piece to match the sign so i'm going to go over here material type i'm just
going to go down here and select pine the material dimensions it is 23 inches wide by 7 inches
for the height and then the thickness is 0.75 now going over to the left hand side i can
import the svg file that we just created opens it up here i'm not changing anything
with this file so i like to go up to edit and then combine everything and then go to edit once
again and then center to material now i'm going to change some of the settings for the cnc for
example the bit i'm going to be using this v-bit a 60-degree v-carve bit i leave
all the cut settings the same to what inventables recommends and then if you
hit simulate you can get an understanding of how long the project will take 22 minutes the reason
why i'm using this computer to make the design is because the laptop that i have hooked up to my cnc
is only for opening up easel and pressing carve so now that this is all set why
don't we go back downstairs and carve it out so to make sure that none of the
white paint from the letters bleeds onto the sign itself and messes up the stain i'm going
to be using this stuff it's a aura mask stencil film i'm going to put it on the top and then i'm
going to send it over to the cnc so when it carves it just leaves out the area that's not masked
i paint it remove this and then it's perfect all right so now i have this white acrylic paint
and this one-inch foam brush and i'm just going to dot in all of the uh the lettering and
then we'll wait till it dries a little bit and then i'll pull the mask off so i know i said i was going to wait until it
dried a little bit before i took off the masking but i was a little too impatient because i'm kind
of in a rush for the sign and as you can see some of the paint flickered and from afar it looks real
good but if you get close you can see that there's some inconsistencies so after this completely
dries i'm going to just give it a light light sand and then it should hopefully free up some of
those paint splatter and then should be good to go all right so next i'm going to take this back over
to the cnc and attach a keyhole bit to the spindle and we're going to cut a slot in the back
to make this thing easy to hang up on a wall all right to finish things up i'm going to be
using this spray shellac this stuff's great because it dries in like 10 minutes so i do two
coats on the front and two coats on the back and then once everything is said and done and all
dry i'll come back with this little paper bag just like a grocery store bag and i'll use
this to lightly sand the front and the back and um it just makes for like a a really
nice and smooth finish so let's go do that all right so this thing is all done and it's ready
to be shipped now let me show you what i do so i typically just take this paper that i have on
my workbench and use it as like wrapping paper so there's two different ways you can either just
wrap this in the sign and then stick this in a box tape it up and ship it out or what i have done
in the past is wrap this with some bubble wrap and then wrap it in this paper and then
just forgo the box so either way works um to ship it for me personally if i'm using it
or shipping it somewhere in the us as well it's typically around eight or nine dollars so when
it comes to factoring the price for the sign i do list it at around 50 knowing that i'll offer
free shipping and then i'll just take the the shipping costs out of that and free shipping just
looks better on the etsy store so i do hope that you enjoyed this video if you have any questions
please put them down in the comments like i said at the start i'm very good at responding to
almost every comment down there if you did enjoy the video i appreciate giving it a thumbs
up and if you aren't already please please please please subscribe thank you very
much i'll see you in the next one