Unlocking Creativity: The World of DIY Cabinet Projects
In the realm of home improvement, few endeavors offer as much satisfaction and transformative potential as DIY cabinet projects. Whether you’re looking to breathe new life into a tired kitchen, optimize storage in a cluttered space, or simply express your personal style, the world of cabinetry is rich with opportunities for creativity and innovation. From rustic farmhouse designs to sleek, modern finishes, the possibilities are boundless, each project serving as a canvas for your imagination. Embracing the DIY spirit not only empowers you to take control of your environment but also fosters a sense of accomplishment that comes from crafting functional art with your own hands. Join us as we explore a variety of cabinet projects, each designed to inspire you to roll up your sleeves and create spaces that are uniquely your own.
Exploring Versatile Materials for Your Cabinet Creations
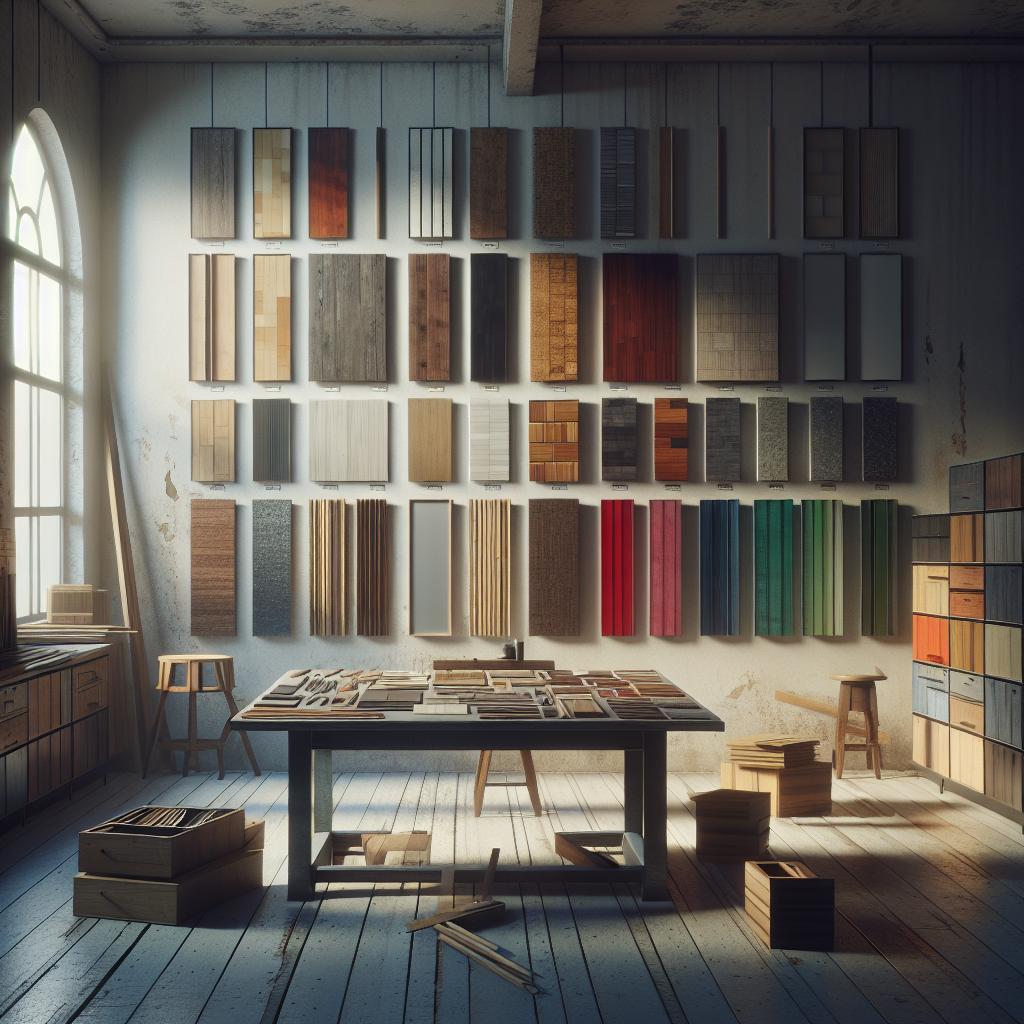
When embarking on DIY cabinet projects, choosing the right materials is essential for achieving both functionality and aesthetic appeal. Several versatile options are worth considering for your cabinet creations:
- Plywood: Known for its strength and durability, plywood can be layered in various thicknesses for optimal support.
- Medium Density Fiberboard (MDF): Ideal for painted finishes, MDF provides a smooth surface and can be easily cut and shaped.
- Solid Wood: Classic and timeless, solid wood can add a rich warmth to any space, but it requires proper care and maintenance.
- Particle Board: A budget-friendly option, particle board can be laminated with attractive veneers for a more polished appearance.
To help you visualize the characteristics of these materials, consider the following comparison:
| Material | Strength | Cost | Maintenance |
|---|---|---|---|
| Plywood | High | Moderate | Low |
| MDF | Moderate | Low | Medium |
| Solid Wood | High | High | High |
| Particle Board | Low | Very Low | Low |
By carefully evaluating these materials based on your needs, style preferences, and budget, you can craft cabinets that are not only practical but also beautiful. Don’t hesitate to blend materials for added texture and visual interest, elevating your DIY cabinet projects to a whole new level of sophistication.
Innovative Design Ideas to Transform Your Space
Revamp your living space with these captivating DIY cabinet projects that not only optimize functionality but also serve as stunning focal points in any room. Consider creating a modular storage unit tailored to your specific needs—stacked cubes or open shelving can add a modern touch, while also providing ample storage for books, décor, or kitchen essentials. You can also enhance functionality by incorporating benches with hidden compartments in entryways or under windows for a seamless blend of style and practicality.
Another creative approach is to breathe new life into existing cabinets through a mix of paint, hardware upgrades, and clever organizational solutions. Transforming standard kitchen cabinets into a chic bar station or a craft corner can redefine their purpose entirely. To make it visually striking, explore the use of geometric patterns or bold color palettes. A table can help summarize some of the most popular styles:
| Cabinet Style | Key Features |
|---|---|
| Modular Storage | Versatile, customizable, space-saving |
| Repurposed Bar Station | Elegant, functional, social area |
| Craft Corner | Organized, inspiring, efficient |
| Hidden Compartment Bench | Dual-purpose, stylish, discreet |

Essential Tools and Techniques for Successful Cabinet Making
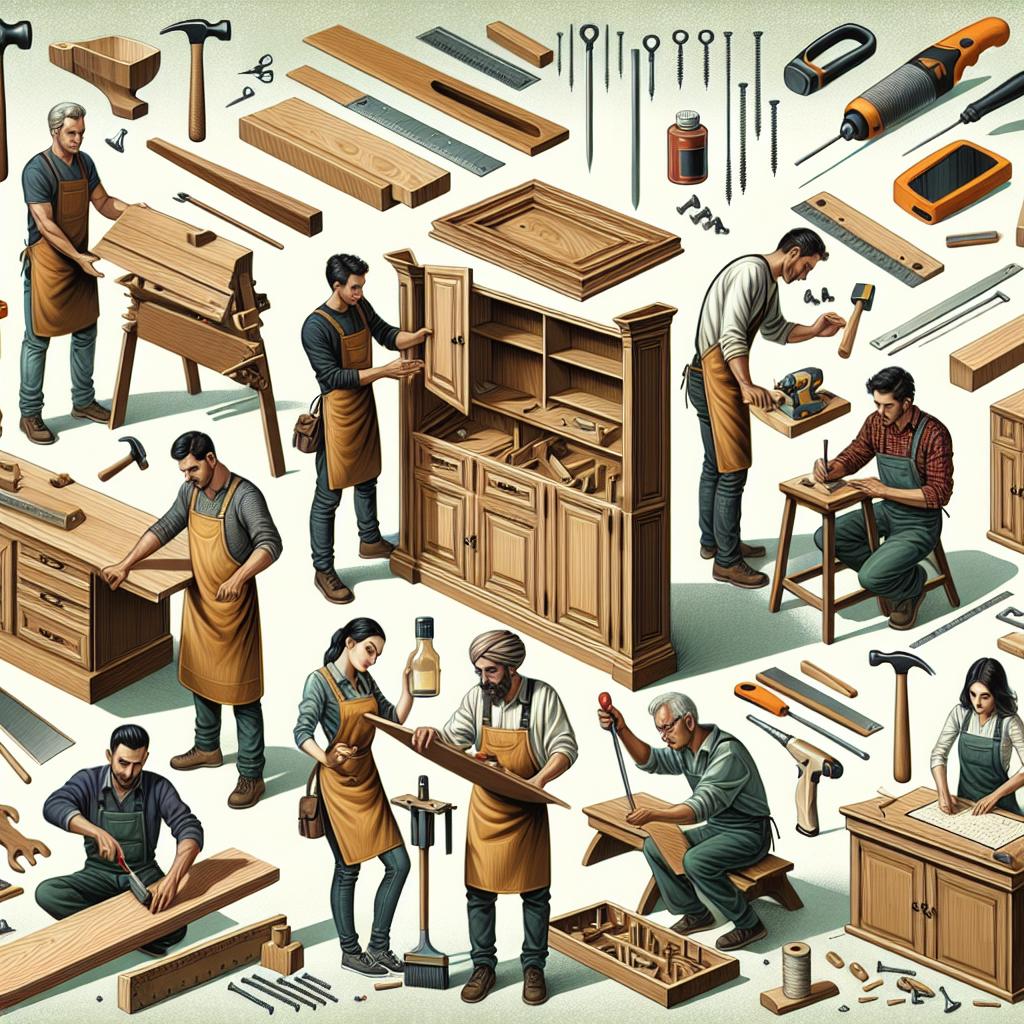
Embarking on DIY cabinet projects requires a solid understanding of both tools and techniques to achieve a professional finish. Start with the core tools you’ll need to bring your vision to life. Consider investing in a high-quality table saw for precise cuts, a miter saw for perfect angles, and a router for decorative edges. Basic hand tools such as chisels, clamps, and screwdrivers are also essential, as they assist in shaping and assembling your cabinets. Additionally, don’t forget to keep a measuring tape and a square tool on hand; these are crucial for accuracy and ensuring all parts fit together seamlessly.
Equally important as your tools is your technique. Mastering the art of joinery—the method of connecting pieces of wood—is vital for the durability of your cabinets. Techniques like mortise and tenon, dovetails, or biscuit joints can elevate your work significantly. Another key aspect is the finishing process; this can include sanding, staining, or applying a protective finish to ensure longevity and aesthetics. Always have a few safety tips in mind while working; using ear protection and safety goggles, and ensuring a clean workspace will contribute to a safer and more productive cabinet-making experience.

Finishing Touches to Elevate Your DIY Cabinet Projects
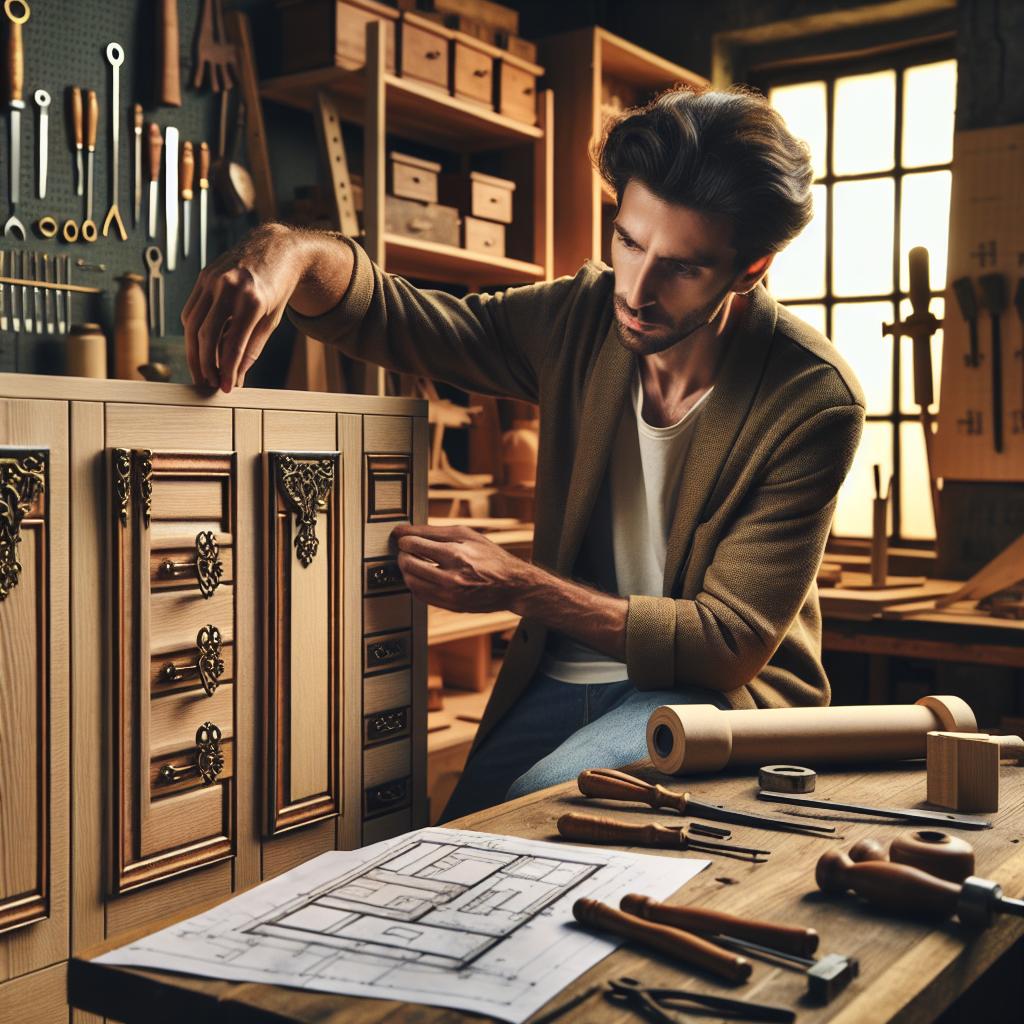
Once you’ve completed the primary structure of your cabinets, focusing on the finishing touches can significantly elevate your project. Sanding the surfaces to a smooth finish is essential; it enhances the paint or stain’s adherence and ensures a polished look. Adding hardware like knobs and pulls can also make a huge difference in style and functionality. Consider mixing materials such as metal and wood to create a unique aesthetic. Moreover, don’t overlook the impact of lighting; under-cabinet lights not only illuminate your workspace but also showcase your craftsmanship beautifully.
Another way to add flair is through the use of decorative molding. Crown molding can add an air of elegance, while baseboards give a more finished appearance at the bottom. If you‘re feeling adventurous, think about incorporating a custom finish like distressing or glazing to add character. For an organized look, consider incorporating pull-out shelves or dividers within the cabinet. Here’s a simple table to summarize some finishing touch ideas:
| Finishing Touch | Description |
|---|---|
| Sanding | Creates a smooth surface for finishes. |
| Hardware | Knobs and pulls add style and functionality. |
| Lighting | Enhances visibility and showcases design. |
| Molding | Gives an elegant and finished look. |
| Custom finishes | Adds character through techniques like distressing. |
Q&A
Q&A: DIY Cabinet Projects
Q1: What are some popular types of DIY cabinet projects for beginners?
A1: For beginners, consider starting with simple projects like a basic wall-mounted shelf, a kitchen spice rack, or a small bedside table. These projects require minimal tools and materials while providing a solid introduction to woodworking techniques.
Q2: What tools do I need to embark on a cabinet project?
A2: Essential tools for DIY cabinets include a tape measure, a saw (either hand or power), a drill, screws, wood glue, sandpaper, and a level. Depending on the complexity of your project, you might also want to invest in clamps, a square, and a finishing tool like a paintbrush or roller.
Q3: How can I choose the right wood for my cabinet project?
A3: Selecting the right wood is crucial for both durability and appearance. For beginners, pine or plywood are excellent choices due to their affordability and ease of use. If you’re looking for something more upscale, hardwoods like oak or maple offer stunning finishes but can be more challenging to work with.
Q4: What are some tips for design and planning before starting my cabinet project?
A4: Before diving in, sketch your design, including measurements for each component. Consider functionality—how will you use the cabinet? Then, create a materials list to avoid last-minute trips to the hardware store. build a prototype out of cardboard or use digital design software to visualize your project.
Q5: What are some common mistakes to avoid when building cabinets?
A5: Some common pitfalls include rushing the measuring process, neglecting to sand edges (which can lead to splinters), and failing to account for the weight of what will go inside the cabinet. Always take your time with measurements, and don’t skip the finishing touches—they can make a significant difference in the project’s overall look.
Q6: How can I finish my cabinet to enhance its appearance?
A6: Finishing touches can elevate your cabinet project tremendously. Consider staining, painting, or clear-coating your wood for protection and aesthetic appeal. Additionally, hardware like knobs and handles can offer a stylish contrast to your doors, making them stand out in any room.
Q7: Are there any resources or communities where I can seek inspiration or assistance for my projects?
A7: Absolutely! Online platforms like Pinterest, Instagram, and YouTube are bursting with DIY inspiration and tutorials. Additionally, local workshops or hardware store classes can provide hands-on assistance, and online forums or woodworking groups can offer invaluable advice and encouragement from fellow DIY enthusiasts.
Q8: How can I ensure my cabinet is safe and sturdy?
A8: To ensure safety and sturdiness, be mindful of your construction techniques. Use screws instead of nails for a stronger hold, and consider incorporating support beams for larger cabinets. Always check that your cabinet is level and securely anchored to the wall, especially if it’s taller than you are or holds significant weight.
Q9: What should I do if I make a mistake during my project?
A9: Mistakes are part of the learning process! Assess the issue calmly—many errors can be fixed or adjusted with creativity. Whether it’s sanding down an uneven edge or using wood filler to address a gap, embrace the imperfection as a step towards gaining experience and improving your skills.
Q10: Can I customize my cabinet design to fit my personal style?
A10: Absolutely! Customization is one of the best parts of DIY projects. Consider painting in your favorite colors, adding decorative trims, or using unique hardware. You can also experiment with different shapes or textures to align with your personal aesthetic and make the piece uniquely yours.
Hopefully, these insights spark your creativity and get you motivated to start on that DIY cabinet project. Happy building!
The Conclusion
As we close the door on our exploration of DIY cabinet projects, remember that the heart of these endeavors lies in the creation process itself. Whether you’re transforming an old piece into a stunning showcase or crafting something entirely new from scratch, each project brings with it a unique blend of creativity and functionality. Embrace the journey; the satisfaction of stepping back to admire your handiwork is as rewarding as the finished piece. So gather your tools, dive into your imagination, and let your personal style shine through in every corner of your home. Happy crafting!

