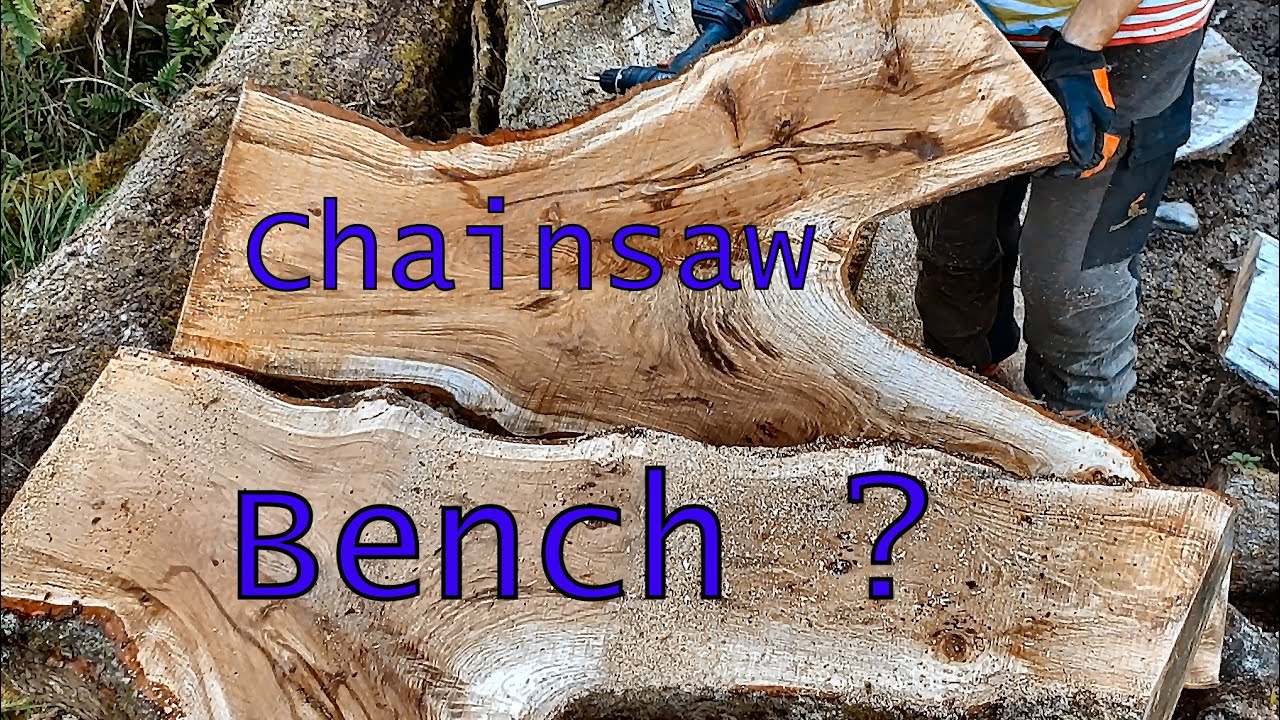
Creating a Bench from Chainsaw or Lumber
In this video, we are going to make a bench just like this one from chainsaw or lumber. If you have been following our channels, you may know that we had a giant poplar tree that fell on our neighbor’s house. They were lovely enough to let us mill it up into large boards. It was only natural that we say thank you by making a bench from the milled lumber.
The Poplar wood would not do well exposed to the elements, so we decided to go with Oak wood. Chainsaw milling is quite a simple process, and the first step is to get the log into a position that is suitable for milling. This usually involves placing the log off the ground, angling it slightly so that gravity is on your side while milling.
Cleaning off any little branches and mud is always worth doing, and it is also worth considering whether to debark it completely. In this case, we wanted the aesthetic of having the bark on the bench, but it is always something to consider.
It is crucial to ensuring the straight edge is set up securely as it is a lot safer and will save a lot of hassle later on. Before getting started, it is crucial to check the tension of the chain as well.
One of the biggest challenges when it comes to milling is transporting the lumber back to the workshop. Luckily, we have a trailer that we can use, and with the sides already cut, it is more manageable to transport.
Now that we have the sides of the bench all prepped up, we can go ahead and start making the back and seat. When it comes to routing out channels, we prefer to use this technique of cutting lots of slots with a track saw or circular saw, instead of using an electric router.
To tighten the seat and back of the bench, we use spacers from the workbench and the tracksaw to get the depth of cut consistent. The same goes for the mortises on the back of the half-round; we use the same trick to get the depth of cut consistent.
Assembling the bench can be a bit tricky, and we have to cut some compound angled cuts because we decided to make the bench open-faced, and the sides are angling outwards. We use the long straight edge to measure the angles for the bench as it can be quite tricky to work out.
One thing we noticed while working on the bench is that it’s weighty, especially with the oak being wet. The seat that we cut up and put on the bench is about three inches thick, afoot and a half wide and six feet long. One way to ensure the bench’s stability is by relying on the mechanical geometry of the joints to prevent it from wobbling.
We love the texture of chainsaw milled lumber, and for us, it’s very tactile and sensuous. This is why we prefer not to use glue, and we rely on the mechanical geometry of the joints to provide stability.
Finishing the bench with varnish wouldn’t work well given the weather in the area, and this is why we opted for backer screws instead. Thankfully the neighbors loved the monstrosity that we created, and we are pleased with the end product.
In conclusion, making a bench from chainsaw or lumber can be a straightforward process, but it does require some level of expertise. Chainsaw milling can be an ideal way to get lumber, and it’s also an excellent way to recycle fallen trees. Creating woodworks like this bench takes a lot of effort but seeing and using the end product is always worth it.

