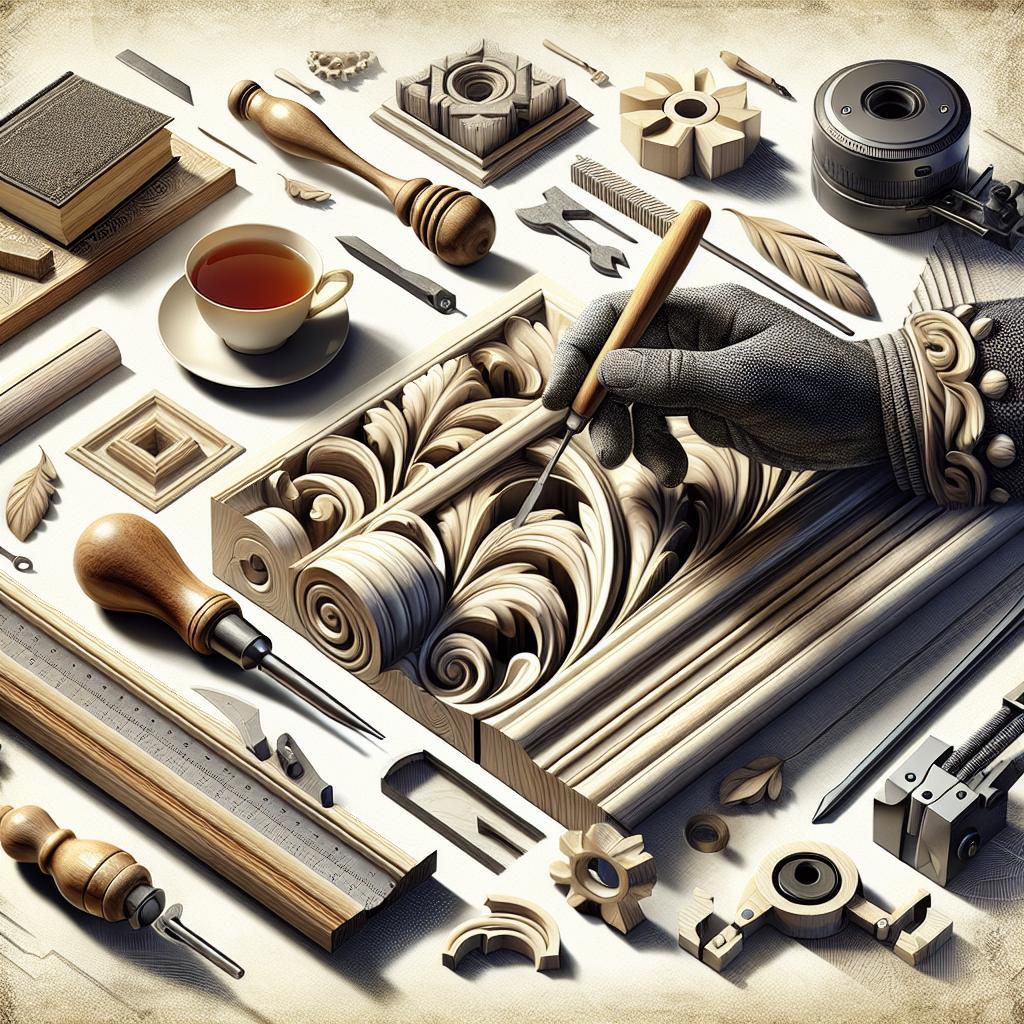
Creating custom cabinet molding can transform the ordinary into the extraordinary, infusing your space with personality and elegance. Whether you’re embarking on a renovation journey or simply looking to elevate the aesthetic of your kitchen or living room, the right molding can serve as the perfect finishing touch. In this article, we will explore the fascinating world of custom cabinet molding—delving into various styles, materials, and techniques that allow you to express your unique taste. From sleek modern designs to intricate traditional carvings, the possibilities are endless. Join us as we guide you through the essential steps to create stunning custom cabinet molding that not only enhances your cabinetry but also reflects your individual style.
Understanding the Basics of Cabinet Molding Design
Cabinet molding serves as a design element that enhances both the aesthetic and functional aspects of cabinetry. Understanding the essential components is crucial for creating a cohesive look in your kitchen or bathroom. Key considerations include profile shapes, dimensions, and materials. Selecting the right style can transform basic cabinets into sophisticated focal points. Common profile shapes include:
- Crown Molding: Adds height and elegance.
- Base Molding: Provides a finished look at the bottom.
- Panel Molding: Frames cabinet doors for added depth.
Moreover, the choice of materials impacts longevity and visual appeal. Wood, for instance, delivers warmth but may require maintenance, while MDF offers durability at a lower cost. When planning your cabinet molding design, consider these factors:
| Material | Advantages | Disadvantages |
|---|---|---|
| Wood | Timeless look, durability | Prone to warping |
| MDF | Cost-effective, smooth finish | Less robust than wood |
| Polyurethane | Resistant to moisture, lightweight | May not have the same elegance |

Choosing the Right Materials for Your Custom Project
When embarking on the journey of creating custom cabinet molding, selecting the right materials is paramount to ensure durability, aesthetics, and functionality. Here are some materials to consider:
- Hardwood: Known for its strength and versatility, hardwood offers a timeless appeal. Popular options include oak, maple, and cherry.
- Medium Density Fiberboard (MDF): Affordable and smooth, MDF is ideal for intricate designs but may not withstand moisture as well as solid wood.
- Plywood: Combines the best of both worlds—sturdy layers assembled for strength and less prone to warping.
- Polyurethane: Lightweight and resistant to moisture, this material is perfect for those looking for elaborate designs without the weight of solid wood.
Furthermore, the choice of finish can greatly impact the final look of your cabinet molding. Consider the following options for added style:
| Finish Type | Benefits |
|---|---|
| Paint | Offers a variety of colors and is easy to apply, making it a versatile choice. |
| Stain | Enhances the natural grain of wood while providing rich color; great for traditional looks. |
| Varnish | Adds a protective coat while boosting shine, ideal for high-traffic areas. |
| Wax | Provides a soft, natural finish with ease of maintenance, best for less-used cabinets. |
Techniques for Precision Cutting and Assembly
Achieving precision in cabinet molding begins with accurate measurements and the right cutting techniques. Use high-quality tools such as a miter saw, which enables you to create perfectly angled cuts essential for tight-fitting joints. Pay attention to the blade type as well; using a fine-tooth blade minimizes splintering, ensuring smoother edges that require less finishing work. It’s also wise to take the time to set up jigs for repetitive cuts, as this reduces variability and maintains consistency across multiple pieces. Make sure to test your cuts on scrap material before proceeding to your final pieces to verify accuracy.
When it comes to assembly, ensuring that your joints fit perfectly is crucial for both aesthetic appeal and structural integrity. Employ techniques like dry fitting before applying adhesives to check that all components align seamlessly. For added strength, consider using wood glue along with brad nails or screws in your construction. This combination not only enhances durability but also keeps your joints hidden for a cleaner finish. Below is a summary of essential assembly techniques:
| Technique | Description |
|---|---|
| Dry Fitting | Assemble pieces without glue to ensure proper fit. |
| Use of Wood Glue | Provides strong bonds between joints. |
| Brads or Screws | Used in conjunction with glue for added support. |

Finishing Touches to Enhance Aesthetic Appeal
To bring your custom cabinet molding to life, consider incorporating a few subtle yet striking finishing touches that will significantly enhance its visual appeal. Start by adding a coat of high-quality paint or stain that complements the overall color scheme of your room. Opt for glossy finishes to create a sense of sophistication, or choose matte finishes for a more understated look. Additionally, using a contrasting color for your molding can make it stand out dramatically against the cabinet surfaces, drawing the eye and adding depth to the design.
Another way to elevate the aesthetic of your cabinet moldings is by adding decorative details that make them unique. Consider incorporating elements like crown details, fluted columns, or elegant appliqués. These details can be customized to suit your style, whether you prefer traditional, modern, or eclectic designs. For a more refined look, you might also explore the idea of integrated LED lighting along the edges of your molding, creating a warm glow that highlights your cabinetry and infuses the space with an inviting ambiance.
| Finishing Touch | Description |
|---|---|
| Glossy Paint | Creates a sophisticated, eye-catching look. |
| Matte Finish | Offers a subtle, refined appearance. |
| Crown Details | Enhances elegance and sophistication. |
| LED Lighting | Adds warmth and highlights the cabinetry. |
Q&A
Q&A: Creating Custom Cabinet Molding
Q: What is custom cabinet molding and why is it important?
A: Custom cabinet molding refers to decorative trim that enhances the aesthetics of cabinetry. It’s important because it adds character, sophistication, and style to your cabinetry, transforming ordinary cabinets into stunning focal points within your space.
Q: What materials are commonly used for custom cabinet molding?
A: Common materials for cabinet molding include wood, MDF (medium-density fiberboard), and polymer. Wood offers warmth and traditional appeal, MDF provides a cost-effective and smooth finish for detailed designs, while polymer is lightweight and resistant to moisture—ideal for areas like kitchens and bathrooms.
Q: How can I determine the right style of molding for my cabinets?
A: Consider the overall design of your space and the style of your cabinets. Sleek, modern cabinets might benefit from simple, straight lines, while ornate, traditional cabinets could look fabulous with intricate crown molding. Browsing design magazines or visiting showrooms can spark inspiration.
Q: What tools do I need to create custom cabinet molding?
A: Essential tools include a miter saw for precise cuts, a nail gun or hammer and finishing nails for assembly, measuring tools for accuracy, and sandpaper for smoothing edges. You may also want a paint or wood stain for finishing touches.
Q: Can I create custom molding myself, or do I need a professional?
A: Many DIY enthusiasts successfully create their own custom molding, especially if they have some woodworking skills. However, if you‘re new to carpentry, starting with simpler projects or consulting a professional might be a good idea to achieve high-quality results.
Q: What are some creative ideas for custom cabinet molding?
A: Consider integrating lighting features, such as LED strips along the top of your molding, or using multiple layers of molding for a richer look. You might also explore unique patterns—like beadboard or shiplap—and paint them in bold colors for a dramatic contrast.
Q: How do I properly install cabinet molding?
A: To install cabinet molding, start by thoroughly measuring and cutting each piece to size. Use a miter saw to achieve the perfect angles for corners. Secure each piece to the cabinet using your nail gun or finishing nails. fill any gaps or nail holes with wood filler, sand smooth, and finish with paint or stain.
Q: How can I maintain and care for custom cabinet molding?
A: Maintaining custom cabinet molding involves regular dusting and periodic cleaning with a gentle, non-abrasive cleaner. If your molding is painted or stained, you might need to retouch it every few years to keep it looking fresh and vibrant.
Q: What common mistakes should I avoid when creating custom cabinet molding?
A: A few common mistakes include not measuring accurately, which can lead to ill-fitting pieces, and skipping the sanding stage, which can cause rough edges. Additionally, underestimating the time needed for installation can lead to frustration, so be sure to allocate ample time for each step.
Q: Where can I find inspiration and resources for my cabinet molding project?
A: The internet is a treasure trove of inspiration—check platforms like Pinterest and Houzz for design ideas. Local woodworking supply stores often have books, magazines, and workshops available. You might also connect with online DIY communities for advice and project showcases!
Concluding Remarks
creating custom cabinet molding is not just a task; it’s an opportunity to infuse your personal style and creativity into your living space. As we’ve explored, the right molding can elevate the overall aesthetic of your cabinets, transforming an ordinary kitchen or bathroom into a stunning focal point. By understanding the materials, tools, and design techniques required, you empower yourself to take on this DIY project with confidence. Whether you opt for sleek modern lines or intricate patterns that speak to traditional craftsmanship, remember that each cut and detail is a reflection of your vision. So, roll up your sleeves, unleash your creativity, and embark on your journey to crafting beautiful custom cabinet molding that not only enhances your home but also tells your unique story. Happy building!

