what's up everybody today we're gonna cover
barbell storage now i know it's not the sexiest thing i've ever built but it is one of the
most practical diy projects for the home gym with most barbell holders ranging in
price from thirty dollars all the way up to a couple hundred dollars the low cost of
these diys make them a pretty good alternative i start off by cutting my two by fours you'll
need four that each measure 40 inches it's not important to be super accurate so i just
use my previously cut pieces to mark where the next cut goes it's much faster this way i
use my tape measure to mark every five inches then i use my rafter square to mark center
clamping these two pieces together before drilling will make sure the holes line up i use a two and a
half inch forstner bit to drill the holes for the barbells it goes all the way through the top two
by four and halfway through the one on the bottom the forstner bit is large and doing a lot of
work you'll need to keep the excess wood chips out of the way so it doesn't get stuck i also
recommend clamping down the wood to the drill press on this step it is possible to use a corded
or cordless drill for this just a little more challenging it's messy even with my vacuum
system the wood chips are flying everywhere assembly is the last step i use wood
glue and screws to attach the pieces i don't go crazy with reinforcing these
pieces because they're not weight bearing i could have planned this better and
made them long enough to span three studs i didn't and have to attach
some two by fours to screw into you'll want to measure your barbells before
attaching this top piece with your barbells standing up vertically the purpose of this
piece is to keep them from falling over this is awesome now i have a
place for my specialty bars if you want to store your barbells horizontally
the gun rack style is the way to go this build is very simple however it requires
a lot of repetitive steps we're going to cut our 4×4 into 12 identical pieces i have a
trick to make the cuts go a little bit faster after i measure and cut my first five
and a half inch piece i take the scrap cut off and attach it to a 2×4 then i clamp
this 2×4 down as a stopper once this is in place i don't have to measure the rest of my
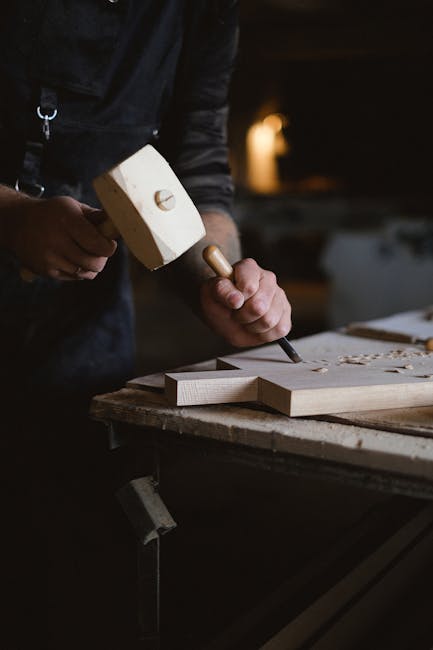
cuts i just push the 4×4 to the stopper and cut sanding is optional but it helps to
get rid of sharp edges and splinters i'm putting a bolt into each of these
4×4 pieces to make sure they can handle the weight of each barbell i use a rafter
square to mark the center of each piece then i drill an inch deep
with a 1 inch forstner bit in the center of that hole i drill the rest of
the way through with a 3 8 inch drill bit these four by fours are five and a half inches long and
they'll be spaced three inches apart i cut a scrap two by four to eight and a half inches and use
this as a tool for marking these lines quickly then with these two by fours lined up i use the
rafter square to mark the second two by four i pre-drill the holes for my screws
these don't have to be super accurate i just eyeball it and drill about
an inch above the lines i marked each 4×4 is then glued and attached
with one screw to hold them in place i used the 3 8 inch drill
bit to drill through the 2×4 and i add another screw on each one i want the two by fours to sit flush on the
wall so i use the forstner bit to drill a shallow one-inch hole on the back this
makes room for the washer and bolt head finally we're ready for the bolts i use a mallet to gently hammer them in before putting
the washers and nuts on the other side tighten them up and you're good to go oh wait nope
i gotta drill some more holes now we're ready for paint okay that part is optional now
that we're done let's test it out you