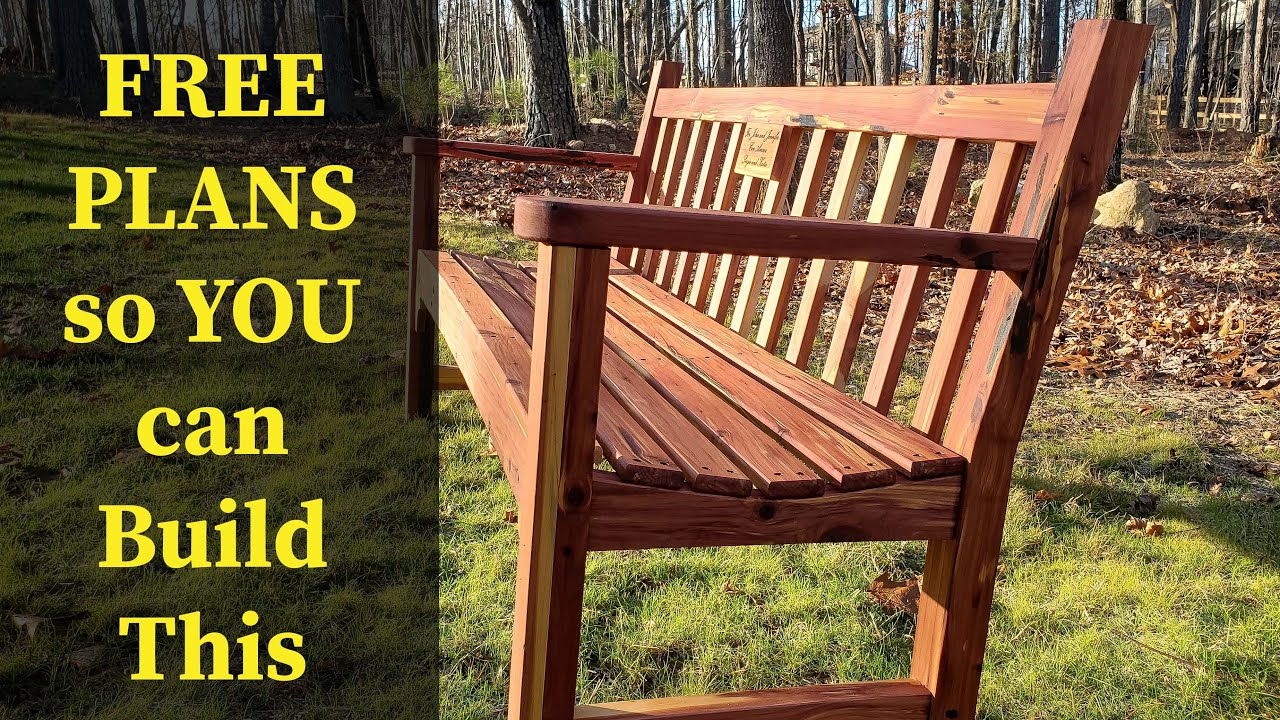
Building an Outdoor Garden Bench
Welcome back to the channel, where we are going to be building an outdoor garden bench. In this project, we will be using cedar wood, although pressure-treated pine and cypress are other options that can be considered. The following is a step-by-step guide on how to build this bench.
Milling the Lumber
The first thing we need to do is mill the lumber. If you don’t want to go through this step, you can purchase already squared and surfaced lumber from your local home store or lumber supplier. Cedar is an excellent choice for outdoor furniture due to its rot resistance property.
For this project, we are working with eighth-quarter stock rough-cut cedar from a local sawmill. We will need to put in extra effort into it, but the process is enjoyable. If you have already surfaced lumber, you will have fewer cuts to make.
Using the Festool Domino
The video shows the use of the Festool Domino for the first time, a tool highly recommended for efficient and increased workflow. You can use dowels or hand cut your mortises and tenons if you do not have this tool.
Building Process
1. Back Rail Section
We will start with the back rail section of the garden bench. We have already glued it up and scraped out the excess glue using a small plastic straw to cut down sanding time.
2. Legs and Arms
Next, we need to cut the legs and arms. For the legs, we have a 5 1/4 by 34-inch long lumber, and we will be cutting them to a 10-degree angle going backward to provide a slight lean to the person sitting. The inside corner of the chair will need to be measured at two and a quarter inches. Two more measurements at two and a quarter inches are made at 16 inches up. The dots are then connected to form a pattern to be cut out using a bandsaw.
For the arms, we will trace an old stain can to provide a rounded surface where the hand can rest. These will then be sanded, and painters tape and CA glue will be used to cut them and make them the exact same dimension before separation into the right and left arms.
3. Seat Support
We need to lay out the seat support and create a curvature profile to allow for the comfortable sitting surface. Four seat supports are used and are 16 and a quarter inches long each, and the slats are two and a half inches wide. We will use the middle eighth and 1/8, then mark an inch down, and give ourselves a two and a half-inch space in the middle of the board. Straight lines will be drawn up to each corner, then cut out using a bandsaw. The curves will then be sanded until smooth before clamping together for the final glue up.
4. Assembling
After all parts have been milled, Domino cut, and have been sanded, we can do the final glue up. The back rail is attached to its seat supports by using Dominoes. The front legs are then attached to the seat supports on the back legs using Dominoes as well. The arms are tapered for the backer to fit, then attached to the back legs using Dominoes.
Conclusion
Overall, building an outdoor garden bench would take some time and effort, but the end result is worth it. Cedar wood is excellent for outside if you’re looking for rot-resistant, long-lasting wood material. Although a Festool Domino was used in this project, there are other options like dowels or hand-cutting mortises and tenons that can be used.
Happy building!

