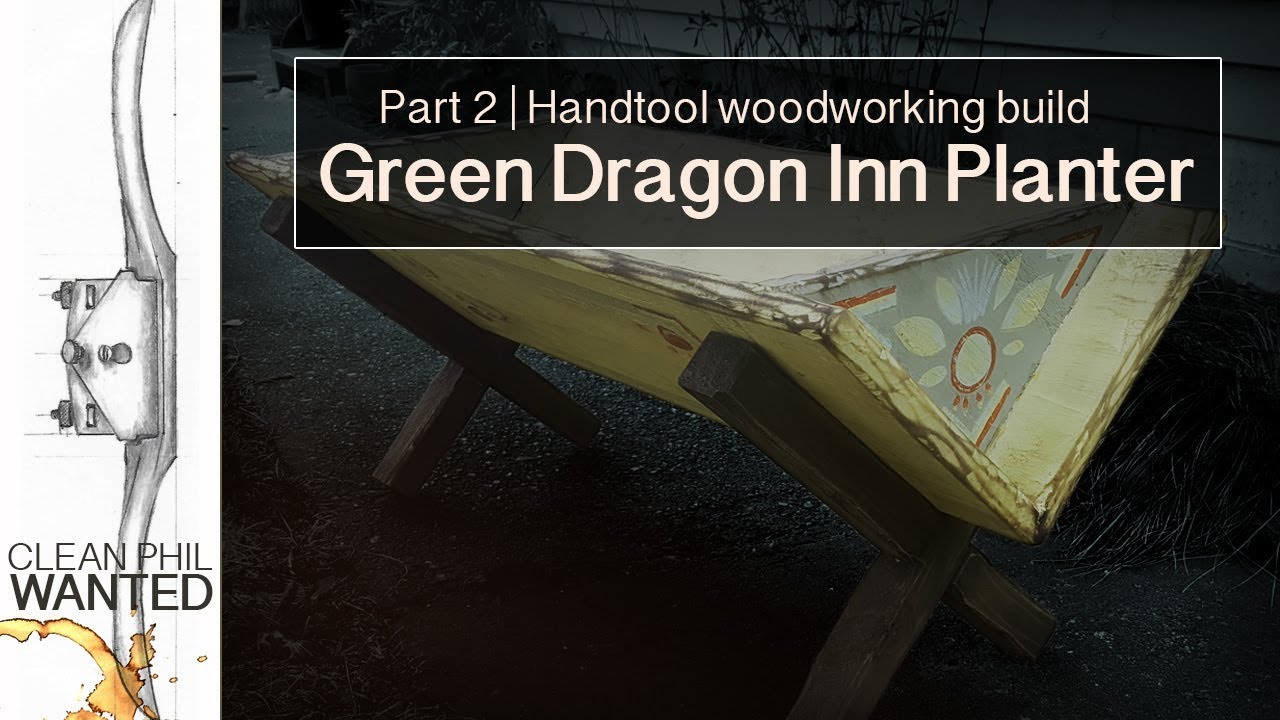
welcome back to clean Phil wanted and
this is our planter so far from Hobbiton I was hoping it was gonna be assembled
done yesterday but this because I didn't plan things out took a little bit longer
than I expected it to but today we're gonna take the clamps off this glue
should be holding this quite well finish it out with some nails just as
reinforcement I don't think I need it it's partially looked partially
reinforcement can smooth out these edges and I'm gonna pull out my draw knife and
roughen distress it up a bit but we also need to make the X frame that will hold
to this which that board is over here this eventually went together pretty
well so let's get going this is probably one of those moments where I'll go too
far that's pretty normal it is with these it's an eighth of an
inch out of square I can do better than that
some I'm a little disappointing it's rustic it's meant to look pieced
together a lot of the Carpenters I've met used this to fill in holes and gaps
and whatnot things are gonna be painted I'm using this fulfilling the screw
holes from my clamping blocks this is treated wood it's a 2 by 4 it's a 4 by 2
here which is technically a hundred by 50 it's a 2 by 4 darn near perfect there are probably better ways to do it
but this is this is how I think hobbit would have made that planter there is a
what organ hobbit house if you look at the this picture you'll see that these
are the tools that were being used so I imagine that a lot of what I'm doing
outside of the glue is kind of what they did I think what I'm going to do here is go
ahead and whether this would paint this and then I'm gonna worry about putting
it all together I might just use nails honestly nail it from the inside and
we're good to go I think everything here would be kind of
in the sense of how a a hobbit would have done it in token tokens world in
the photos they did do a half lap but it wasn't a full half lap it didn't set all
is sit all the way in so this rounded edge that you had here is pronounced
from this surface and that would keep a gap like this from happening this
actually turned out a touch more difficult than I thought it was gonna be
but again that's because I didn't really plan this out so I'm gonna go grab my
painting stuff and get it all together my walk away from this let the glue
continue cooking my wife and I are gonna go for a nice walk and get food and take
a puppet to the dog park so we'll catch you next time please subscribe like
comment stuff I found the photo of the other triangle planter and I wanted to
put it up here so you can see the end pieces two pieces stacked the grain is
horizontal with the ground that this would have probably been a heck of a lot
better way of doing this


