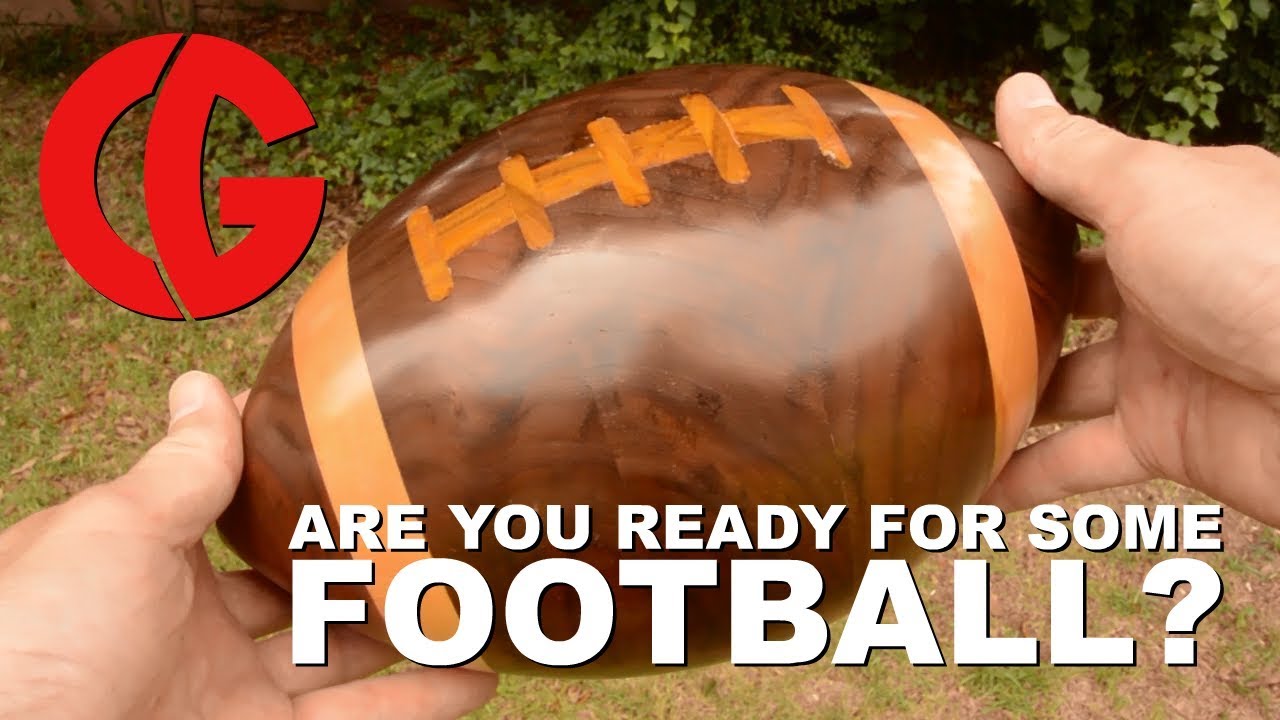
The same patron that asked me to make the
walnut sphere subsequently asked me, "Can you make a football?" I said, "Sure, that sounds like an interesting
and fun challenge." I started by cutting up some walnut for the
main part of the ball. I was simply going to glue them up into layers. I had some reclaimed wood as well that I was
going to use as the white lines. This is a reclaimed coffee table. I sanded the surfaces flat so I can glue them
up into my blank. I simply clamped them with paint cans. I slowly got toward my shape on the lathe. I had a couple of waste blocks that I glued
on the ends. I turned one end just a little too small. It flew off the lathe. Oops! No problem. Put it back on. Refining the shape now. I got it pretty close to where I wanted it.
Then, I drew on the lines where I wanted the
laces to go. I had some black limba that I cut up that
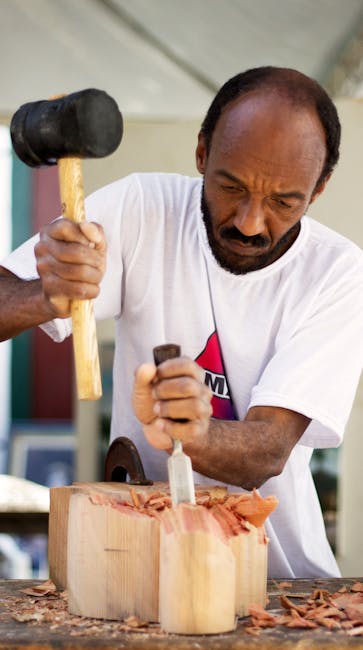
I was going to use as the laces. I started by drilling holes with the drill. Then, I simply chiselled out the hole. These are going to be the laces that run the
length of the ball. I turned that smooth and I had a bit of a
gap. My chisel job was not that accurate. I am making the cross laces. Again, I drilled holes for the ends. Then, I chiselled out the rest. I tested the fit. I needed a bit of sanding to fit it in. I cut off the excess, then turned it smooth. Again, my chisel job was not that accurate. I had to fill the gaps with some CA glue. Once that dried, I finish-turned it. Of course, I sanded it. Luckily, I was able to power-sand. Not only did it do a better job, but it took
less time. Thanks to Uneeda for supplying the abrasives
that I use.

I very carefully sanded the ends off with
the disk sander. Then, I smoothed it out with the drill sander. I finished it with spray lacquer. I sanded between coats to get it nice and
smooth. That is how it turned out. I showed it to the client and he loved it. That is what is important. Thanks a lot for watching. See you next time in Cammie's Garage..

