foreign dog woodwork today we're going to take a look
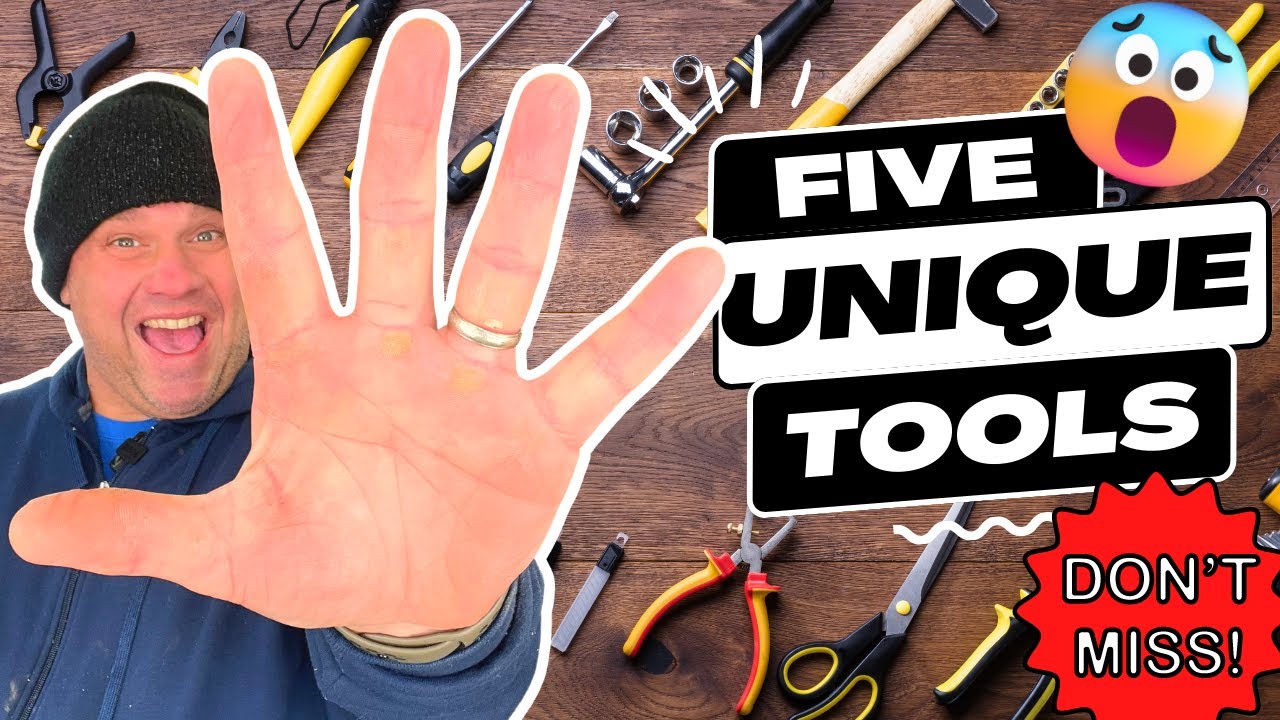
at another five items that I think might be a valuable addition to your Workshop our first item
may have come from a bird our second item looks like a medieval torture device our third item is a
multi-tool fourth item is just plain smooth lastly we're going to take a look at an item that I just
saw so let's go take a look at these five items so if you know anything about this channel you know
I like to Google deep I like to find those unique woodworking tools that you just don't see all the
time and that's what these next five items are so our first item we're going to take a look at is
all about safety safety at the table saw safety at the router table these are all things that
Woodworkers need to take seriously so I dialed up my boy Birdman and he was telling me all
about the importance of feather boards I've got a few feather boards on my shop so let's
go take a look at those first so I've got two feather boards that I use on a regular basis the
first feather board is the mag switch feather board now this one's a little bit pricey just
because it has the two mag switches that come with it my go-to featherboard however is this
Hedgehog featherboard let's take a look at how this one works if we take a closer look at the
Hedgehog featherboard you can see that there's a nice little piece on the back that slides right
into your miter slot when you twist the knob it expands that bottom and it tightens your feather
board right into place now one of the things that I absolutely love about this feather board is the
on the Fly adjustability of this featherboard if you have a piece of wood you can adjust it so
that it fits perfectly once you've made a few cuts at this width it's very easy to switch the
width of the featherboard you simply unscrew the knob you place your new piece of wood into your
table saw you lock it down and now you're ready to cut it this width it's the adjustability of
this feather board that really gives you a five inch swing from this setting all the way up to
this setting but this isn't the feather board that we're going to be talking about today this
is a very unique feather board let's take a look at it so this is the summerfeld unique feather
board let's open this box and see what's inside so my first impressions have after opening this
box is this thing is a monster if we take a look at it it's about 25 percent larger than the mag
switch featherboard so when we look at this tool you can see that it comes with six knobs two of
these knobs are for quarter inch track two of the knobs are for 5 16 inch track and then you have
two knobs that will fit into your standard miter slot so here I have the feather board installed
into the miter slot if we look at the construction of the tool you can see that there's some Cuts
in the feather board with some rubber dowels this gives it a little bit of cushion and allows
that feather board to spring back and forth if we look at this featherboard when it's fully
extended you can see that the nice thing about it is it won't come into contact with your blade
assuming that your miter slot is approximately five inches away from your blade if we look
at the adjustability of this feather board you can see that it slides approximately four
and a half inches from one setting to the other if we look at the Dual locking mechanisms of this
featherboard it becomes very secure when you lock it into place and I'm going to put my whole weight
on this feather board and it's not budging a bit now let's see if we can use this on a router
table now I did pull out both of the pieces that fit into the miter slot on your table saw as
they're in the shape of a tee and my router table doesn't have t-slots in it but thankfully it did
come with those other knobs which accommodate a 5 16 inch slot as well as a quarter inch slot
now my router table requires a quarter inch so that's what I'm going to install the extra
money slots will know where to begin whoa he put it this chick is pretty cool she said
there's gonna be tons of fluffs in Las Vegas cool now one thing to note for the 5 16 and
quarter inch slots it's simply just a bolt so that's something to be aware of so with
the quarter inch attachment you can see that it slides very easily across the router table now
this will provide the perfect horizontal pressure to my work piece as I'm sliding it through the
router table but not only that I can attach it to my vertical fence and have that vertical
support that I'm looking for so for me this will be a valuable addition to my shop I'm going
to keep this summerfeld unique feather board over at my router table it'll keep the Hedgehog right
over my table saw so I'm quite pleased with the summerfeld unique design feather board I really
like the fact that it's got these rubber pins in it that allow it to give just a little bit of
give as you're pushing your work piece either through your router table or your table saw
now let's move on to our next item so one of my favorite places to visit when I was a kid was
the Tower of London this place was amazing it had all sorts of unique torturing devices that were
used in the medieval times and that's what this next item looks like a medieval torture device
so for this next item we need to go visit my old friend the Ryobi drill press now this next tool
has everything to do with cutting out holes in your work pieces let me show you how I typically
cut out holes in my work pieces right now so I absolutely love forstner bits this is a set that
I got from Woodcraft a few years back it goes all the way from a quarter inch forstner bit all the
way to 2 and 8 inch forstner bit however there's some times when you need to make holes that are
just a little bit bigger than that two and a eighth inch forstner bed and that's what this next
tool is all about excuse me is this a glory hole that's a family hole so this next item is called
the free donut adjustable Circle cutter that's right free donut let's go take a look at this
item and see what it's all about so this is the torturing device that I was telling you about
it's basically a drill bit that's got two sliding knives that you can adjust and create any Circle
diameter that you want this goes all the way out to eight inches so if you want to create a circle
at eight inches you potentially could now to me creating a circle with an eight inch diameter
seems a little bit scary to me especially with this device and these blades spinning around
however we're going to start off small and do a four inch circle with this device so let's
go head over to the drill press now a couple of things to note here there are some measurements
on the wings of this tool however they're in centimeters so if you're using inches you'll have
to make that conversion once you've figured out how wide you want your circle to be you slide
your wing out and then you lock it into place with an allen key so I'm going to go ahead and
measure two inches from either wing and tighten it down with the Allen key so here I've tightened
down this tool to two inches on either side so now we can create that Circle giving us a four
inch diameter so let me go put this in the drill press and we'll cut through some MDF to give it a
test so here I've installed the free donut Circle cutting bit into the drill press now I'm here to
tell you I'm a little concerned about these wings that come off of each side of the bit they're
going to be spinning very fast and you can easily injure yourself if you're not careful so that's
something to be very cognizant of so now that I have this secured down with a clamp I'm going
to turn this drill press on and see what happens well once again this bit was just a little bit too
big for my drill press my motor was consistently bogging down and I don't want to burn up my motor
however if you do have a more powerful drill press this bit might be the one for you another thing
to consider when using this bit in your drill press is you want to slow the motor down quite
considerably since you're cutting way out here this is going to be spinning a lot faster than it
is in the center so you'll need to slow down your drill press I will have to say however even though
I wasn't able to get through this entire piece of MDF it did leave a very clean cut hole and that's
what she said so this is quite an interesting tool and I'm glad I checked it out however for me I
just can't use it because my drill press isn't powerful enough another thing that concerns me
are these swing arms when you have your drill press running these things are going super fast
and it really could cause an injury well I'm a little disappointed that I won't be able to use
that tool in my shop however if you do have a more powerful drill press and you need to make some
larger diameter holes it might be the thing for you well that covers our first two items before
we move on to our third item I ask you to do me a favor and hit that subscribe button below
it really does help out this small woodworking Channel and leave a like if you can also for any
of the tools that I'm showing here today I'm going to leave links in the description below so you
can go check them out for yourself so if you've watched this channel for any period of time you
know that I love gadgets I'll surf the web and find the unique Gadget that I've never seen before
this next Gadget however is one that's made by a very reputable brand so let's take a look at
it so in my opinion Craig is the king of jigs I even went as far as to get that router table
over there which is also made by Craig this next tool however is a multi-tool made by Craig let's
take a look at it so this is the Craig multi-mark multi-purpose layout tool let's open this box and
see what it can do so out of the box there's only three parts to this tool and that's a real bonus
in my book there comes a little level that's made out of plastic a ruler as well as a little knob
let's take a closer look at this tool and see what it can do so first off just like almost every
Kreg tool the frame is made of plastic it's got a nice little level in the center of it as well as a
little knob it also comes with a small ruler that has centimeters on one side as well as inches
on the other so since this is a measuring Vise my biggest concern about this tool was the fact
that the frame was made out of plastic so we're going to do a couple of tests just to make sure
that this can keep some accuracy so that plastic frame really only concerns me when we're using
this as a square if we flip the tool over there's a little notch in the back where you can add
the metal ruler and tighten it down with a knob once that's in place we can test for square to
test for square I'm going to take my woodpecker 642 and place it into this Craig square and
as you can see there's no gaps even though this ruler appears to be square there is a little
bit of play in the ruler when it's fully extended there's probably a 64th of an inch play from the
tip of the ruler to the base of the tool so for accuracy purposes this is not a ruler that I'd
use for square because of 30 seconds of an inch can make a big difference when you're building
stuff like Furniture another function of this tool is there's a slot on the back where you can
slide your ruler in and lock it down with a knob now let's test this piece to see if this is
square so for this test I'm going to strike a line on one side then I'm going to flip the
tool over and strike a line on the other side and that appears to be perfectly Square so for
the purposes of using this tool in the same way you would use a polini pocket rule I think
this tool will do the trick Let's test it out and that leaves a nice crisp clean line the
next feature that this tool claims to have is to lay out a perfectly 45 degree angle
so let's test that next so in order to use this as a 45 degree angle you slide it into the
tool and you lock it down with that little knob now let's see if that's actually 45
degrees but before we test it out I did want to mention once again that there's
a little bit of play in the ruler especially when it's fully extended so for this test
I'm going to strike a line at 45 degrees and then we're going to take our compass
and see if that's accurate and I see 45.1 degrees so it's fairly accurate one of the
last features that this tool can be used for is you can use it for an angle gauge so let's test
that out so in order to use this tool as an angle gauge you flip the tool over you place your ruler
on top and you Loosely tighten it into place once you have it Loosely tightened you can place your
tool on your angle find the angle and lock it down once that angle is locked down you can then
transfer it to any other work piece or take it over to your miter saw and find that angle for
your miter saw so what have I learned by taking a closer look at this Kreg multi-mark tool well
to be honest I'm a little bit disappointed in the accuracy right out of the box it's not quite
square and it's not quite at 45 degrees however this isn't why I purchased this tool if I'm going
to do Square I'm going to always reach for my woodpecker 642 what I purchased this for was to
be an angle finder and it does that fairly well the other thing that this tool can be used for
is a cheap polini Rule now pollini rules aren't always available and they're quite expensive
so this could be a cheap alternative the other nice thing about this tool is once it's fully
collapsed it's very Compact and can easily slide into a small pocket in your work vest well that's
three items down and only two more to take a look at this next tool is one made by Milescraft and
if it's anything like the other Mouse craft tools I've taken a look at I think this is going to be
a winner so this next tool is a profile sanding kit called the sand plane made by mousecraft
let's open this box and see what comes inside so in a previous video I had featured a detailed
sanding kit that was great it was small enough to get into all those little nooks and crannies
and it came with a ton of sandpaper however I think this mouse craft tool is going to take it
to the next level so the biggest complaint that I had about this detail sander that I featured
before was you had to purchase some specialized hook-and-loop sandpaper that would fit this tool
but this mouse craft tool takes your standard five inch hook and loop sandpaper so just like the
other detail sander the mousecraft sander comes with a flat bottom right out of the box however
you can switch this flat bottom out to some other shapes let's take a look at those so the miles
craft sander along with the flat bottom has a concave convex as well as a 45 degree attachment
that you can easily attach to the bottom of a sand plane so switching out the bottom of the sand
plane is very easy to do you simply pull it off and it's got two little holes that you easily
slide your new pad onto once that new pad is on you're ready for the Sandpaper so once we have
that convex pad in place we can then take our sandpaper and wrap it around the tool once that's
in place we can then take a dowel and sand it along with the concave attachment there's also
this 45 degree attachment and I expect this to be a really valuable tool especially when trying to
get some of that hardened glue out of the corners of your work pieces but most importantly I don't
need to buy any sort of specialty sandpaper I can go to any big box store or the internet and just
purchase some 5-inch orbital sandpaper and it will fit this tool which is a big bonus in my book so
once again in my opinion mousecraft is killing the game and woodworking they're making quality
tools that everybody can afford well that takes us to four items so far once again hit that subscribe
button leave a like as it really does help out the small growing woodworking Channel also for all
the tools we're looking at today check out the description below as I'll leave links to all the
tools we take a look at so for our last item today we're going to dig a hole all the way to China and
check out a China tool this one's got a great name here we go again this is called the manual craft
saw let's open this up and I'll show you exactly what it is so we're really going deep into China
for this one there's not any English on the back of this package so the reason I purchased this
tool is 100 because of the size of it this thing is the size of a pen or a pencil let's take
a closer look at some of the blades that come with this saw and see what we can use it for so
inside this package it comes with nine blades it's got three packages each with three blades along
with two carrying cases along with the tool it's also got a protective sheath that allows you to
protect your blade so in order to attach one of these blades to the actual saw you simply unscrew
the handle this allows you to slide in your blade and then once it's slid in you lock it down
by tightening it up so as I said before this saw comes with three different types of Blade
it comes with a long slender blade it comes with a convex blade as well as the blade
that's installed in the saw it also comes with two carrying cases as well as a sheath
which easily slides over the tip of the saw the main reason I purchased this saw is because
I thought it might be nice to have a flush germ saw right in my pocket so let's see if this
can actually do a flush trim on this dowel foreign ly did the trick so I'm actually quite
impressed with this little saw the blade is thin enough where it can easily Bend and you can
easily flush cut any dowel that you need now I just flush cut a walnut dowel and that's about
as hard of a dial that I'm going to be cutting through not to mention this saw is so small you
can easily slide it into your pocket well that's going to wrap us up for today I hope you enjoyed
checking out these five tools that I had to Google real deep for if you haven't already make sure
you hit that subscribe button leave a like and leave a comment as it really does help out this
small Channel until next time take care as always [Music] thank you [Music]