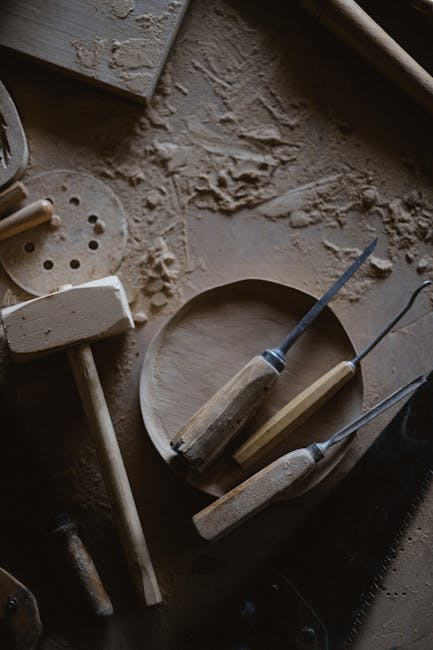
Welcome to Tightwad Workshop. In this video we'll be making a quick and easy mallet You can find links to free plans in the description Start by measuring and cutting the parts for the mallet head Next, measure and cut out the handle Sand the edges of all the parts to remove splinters Perform a test assembly to make sure all the parts fit together We'll be using a very simple clamp to glue the mallet together It's just a piece of thick timber with 2 blocks nailed to it We'll use these 2 pairs of wedges to give the clamping force Apply PVA glue to the mallet side pieces Spread it evenly over the whole surface Place the first of the mallet head centre pieces Then apply glue to the end of the handle that will fit inside the mallet's head Assemble the mallet Then fit it into the clamp Tap everything with the hammer until you're happy with the fit The wedges should be fitted tightly enough to pick up the clamp and mallet together The next day…

Tap the wedges loose with your hammer I could have avoided this damaged area on the handle if I'd been more careful with the cutting out If you want you can use the mallet as it is, but I like to add some nails in the head for extra strength Here's a sneak peek at the final project in this course – the 4-pallet workbench It doesn't use a vice, instead we use dog holes, pegs and holdfasts We use the mallet to insert and remove the holdfasts There are also holes in the top of the bench for holdfasts Most hand woodworkers will use a mallet rather than a hammer for tapping a chisel This is partly because the mallet is quieter, and also because the big mallet head makes it easier to hit the chisel handle without needing to watch it This isn't a very good mallet, but it's good enough to help us build a better mallet The better mallet will be one of our upcoming projects That's all for now, thanks for watching

